• Gallery
    • Fire
    • Ice
    • Water
    • Kelp
  • Thoughts
  • Resources
    • Custom Styles
    • Favorites
  • About
  • Contact
    • Schedule a Meeting
  • Gallery
    • Fire
    • Ice
    • Water
    • Kelp
  • Thoughts
  • Resources
    • Custom Styles
    • Favorites
  • About
  • Contact
    • Schedule a Meeting

November 23, 2018

| by Spicyjello

Creatively Obsessive

Posted in creativity
abstract fire image by Troy Miller

There are so many things that go through my mind as I’m photographing a client. Posing, expressions, body language, my camera settings, background, and lighting. Oh….and that tiny piece of hair that is just sticking out below her chin on a silhouette or his fingertips just sneaking around her waist.

Who would notice? I notice! I see everything!

A hair, undone buttons, or a slightly tilted frame—I’m obsessed with the little details that most people never see unless you pointed it out to them.

I’m sure you have spent some time in Photoshop, and if not, you at least know its power when it comes to editing an image. When I’m in the world, I wanna edit everything! There is a smudge on that wall in a restaurant that I could take care of with a little clone stamp or that lampshade that’s a little crooked. How about the spot on your buddy’s shirt or the scratch on your car door? Content aware fill to the rescue!

I don’t feel alone though. My daughter is a graphic designer and a bit of a font snob. Open a menu or a brochure and listen to her grumble about the misspelled words, poor layout, or the still overused font Helvetica. It allways makes me smile when a fellow creative obsesses over the “little things”.

I embrace my obsessiveness as a superpower.

With my superpower, elements like symmetry, color harmony, and lighting are revealed to me. Scenes like a hallway, leading lines of a path through the trees, a staircase, repeating patterns, or a shaft of light all catch my eye. Did I mention repeating patterns? That’s like visual crack.

Embrace your obsessive nature

Devour all of those things in your world that you love and obsess over. What can set you apart from other photographers might be those obessions, like your images having less clutter or a better composition, shooting in unique lighting, or utilizing a non-standard angle in location most would walk by.

So if you’re a little obsessive about the things that drive your creativity, embrace that nudge and harness your superpower to see the world a little differently and create something amazing! Now, go now……create something now! Stop reading, don’t scroll anymore, don’t look at your phone, grab your camera and follow the tug!

November 15, 2018

| by Spicyjello

Print That Thing!

Posted in creativity, Printing

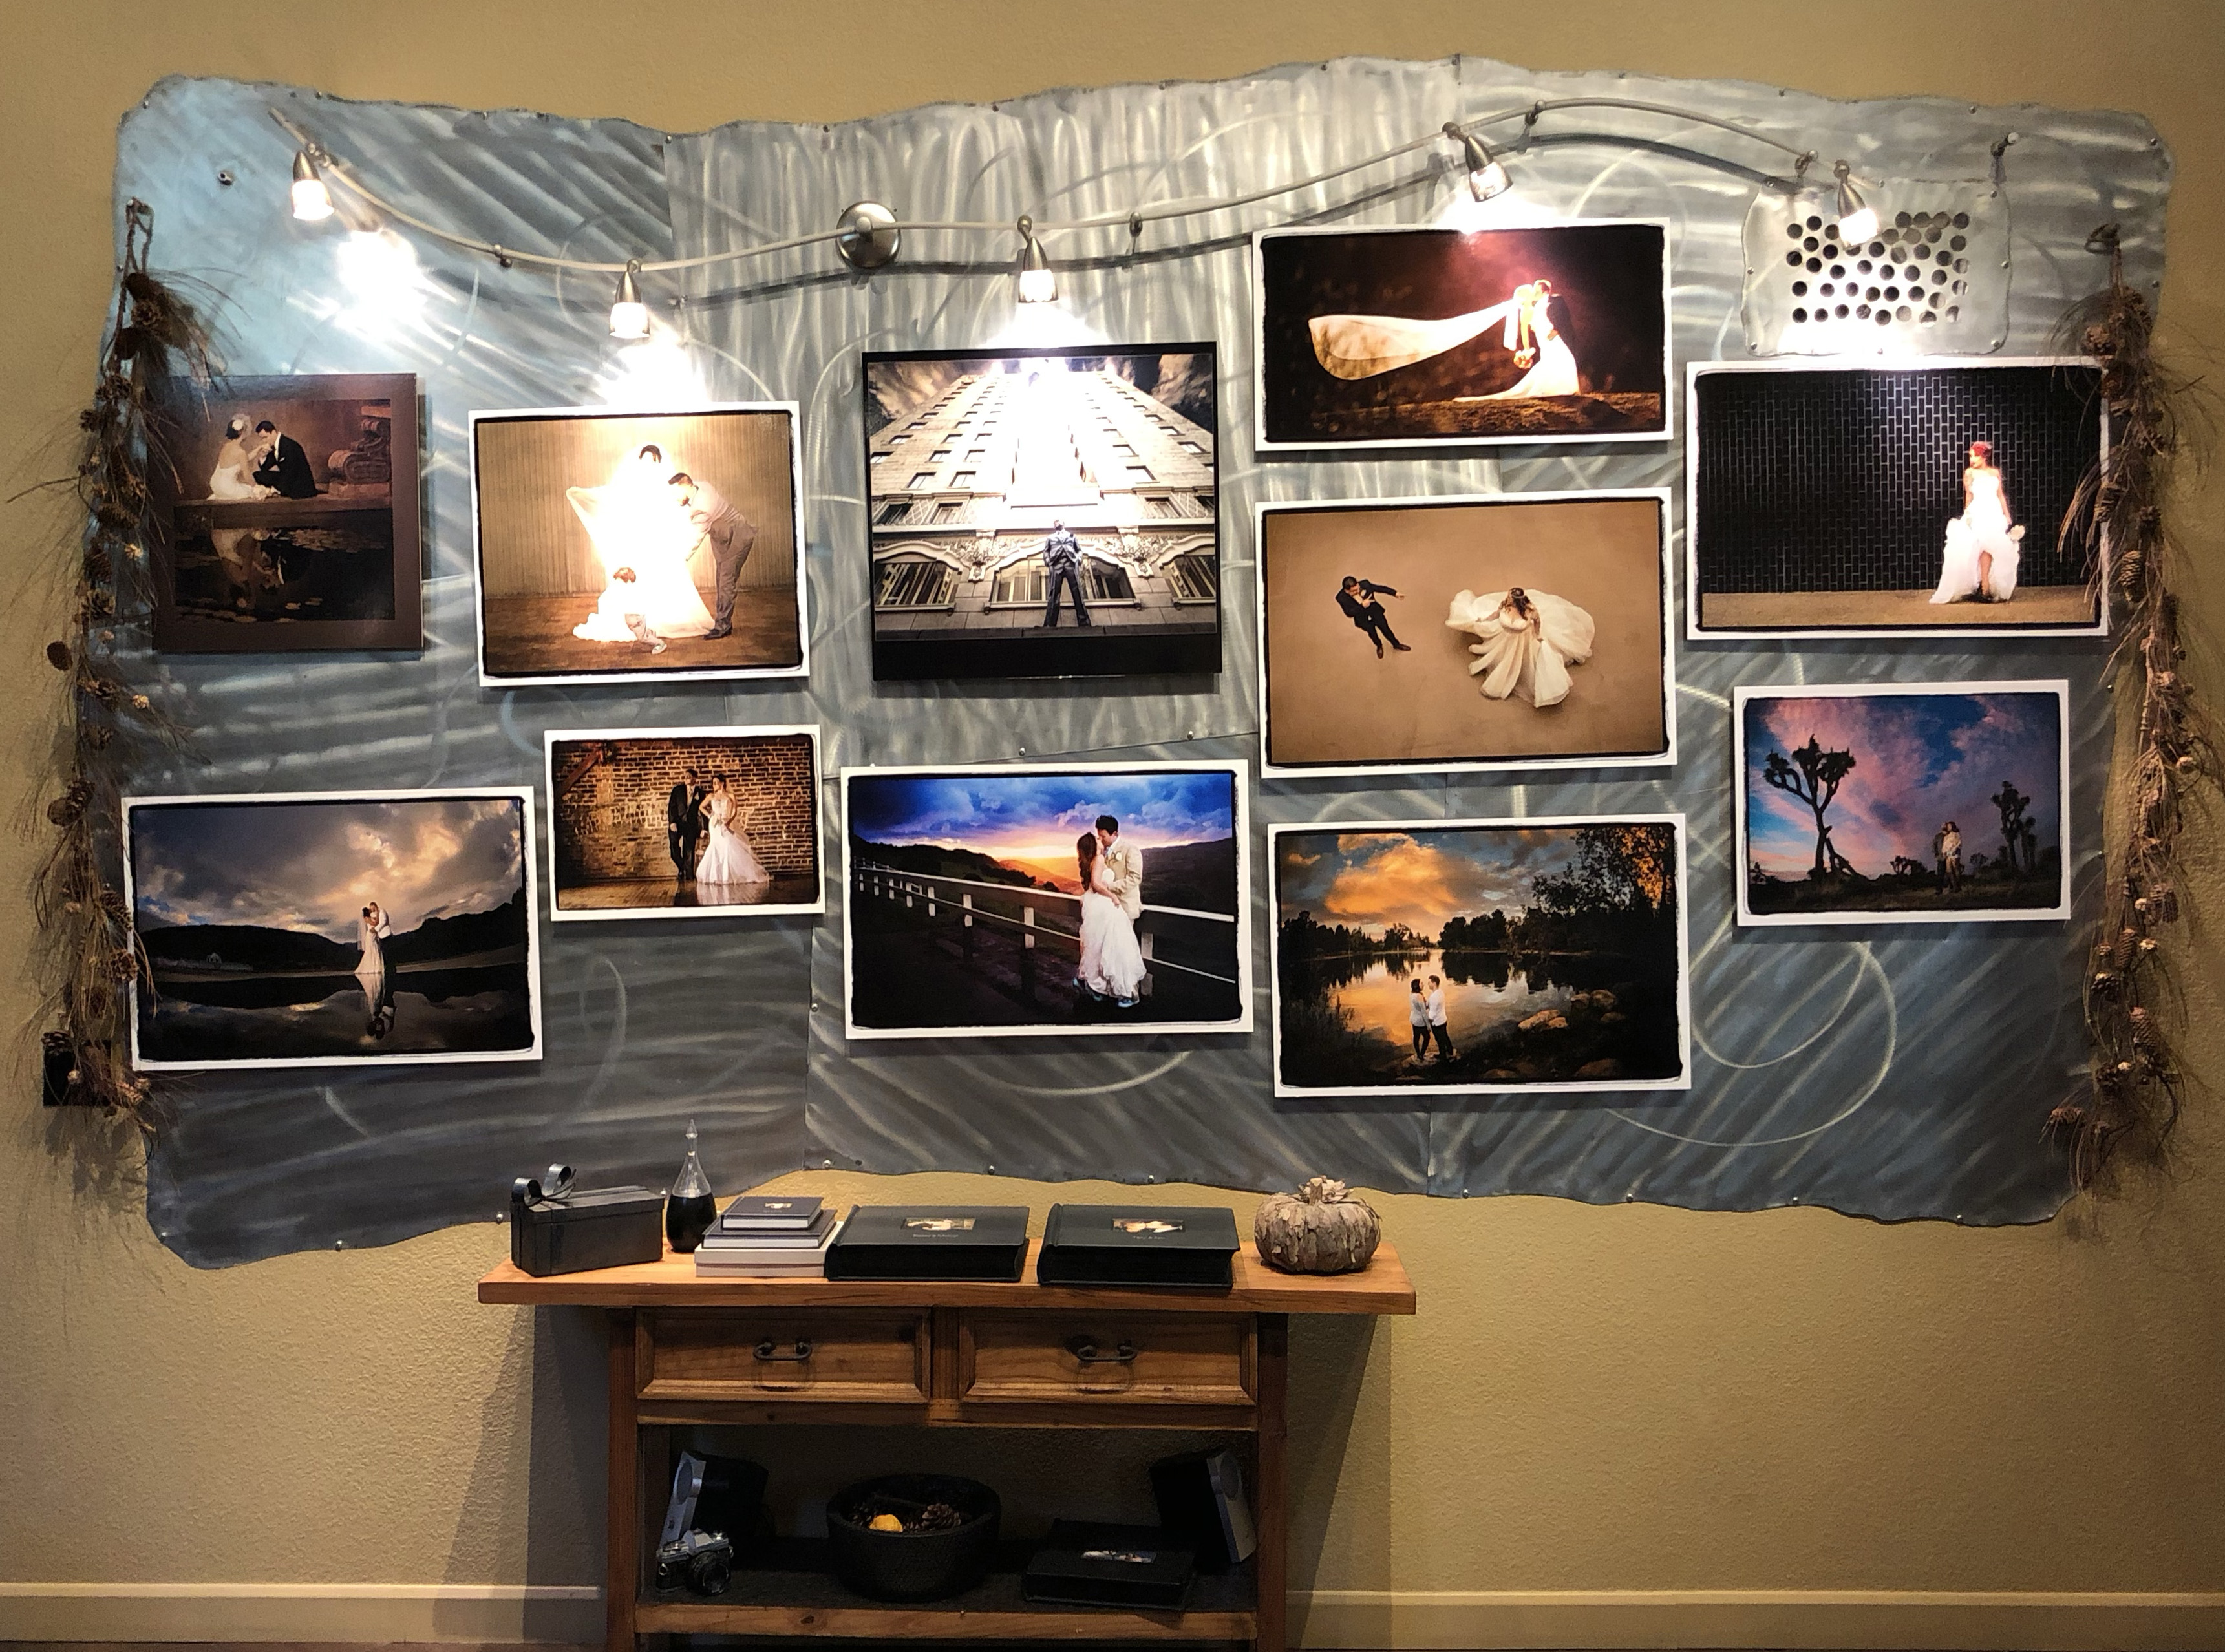
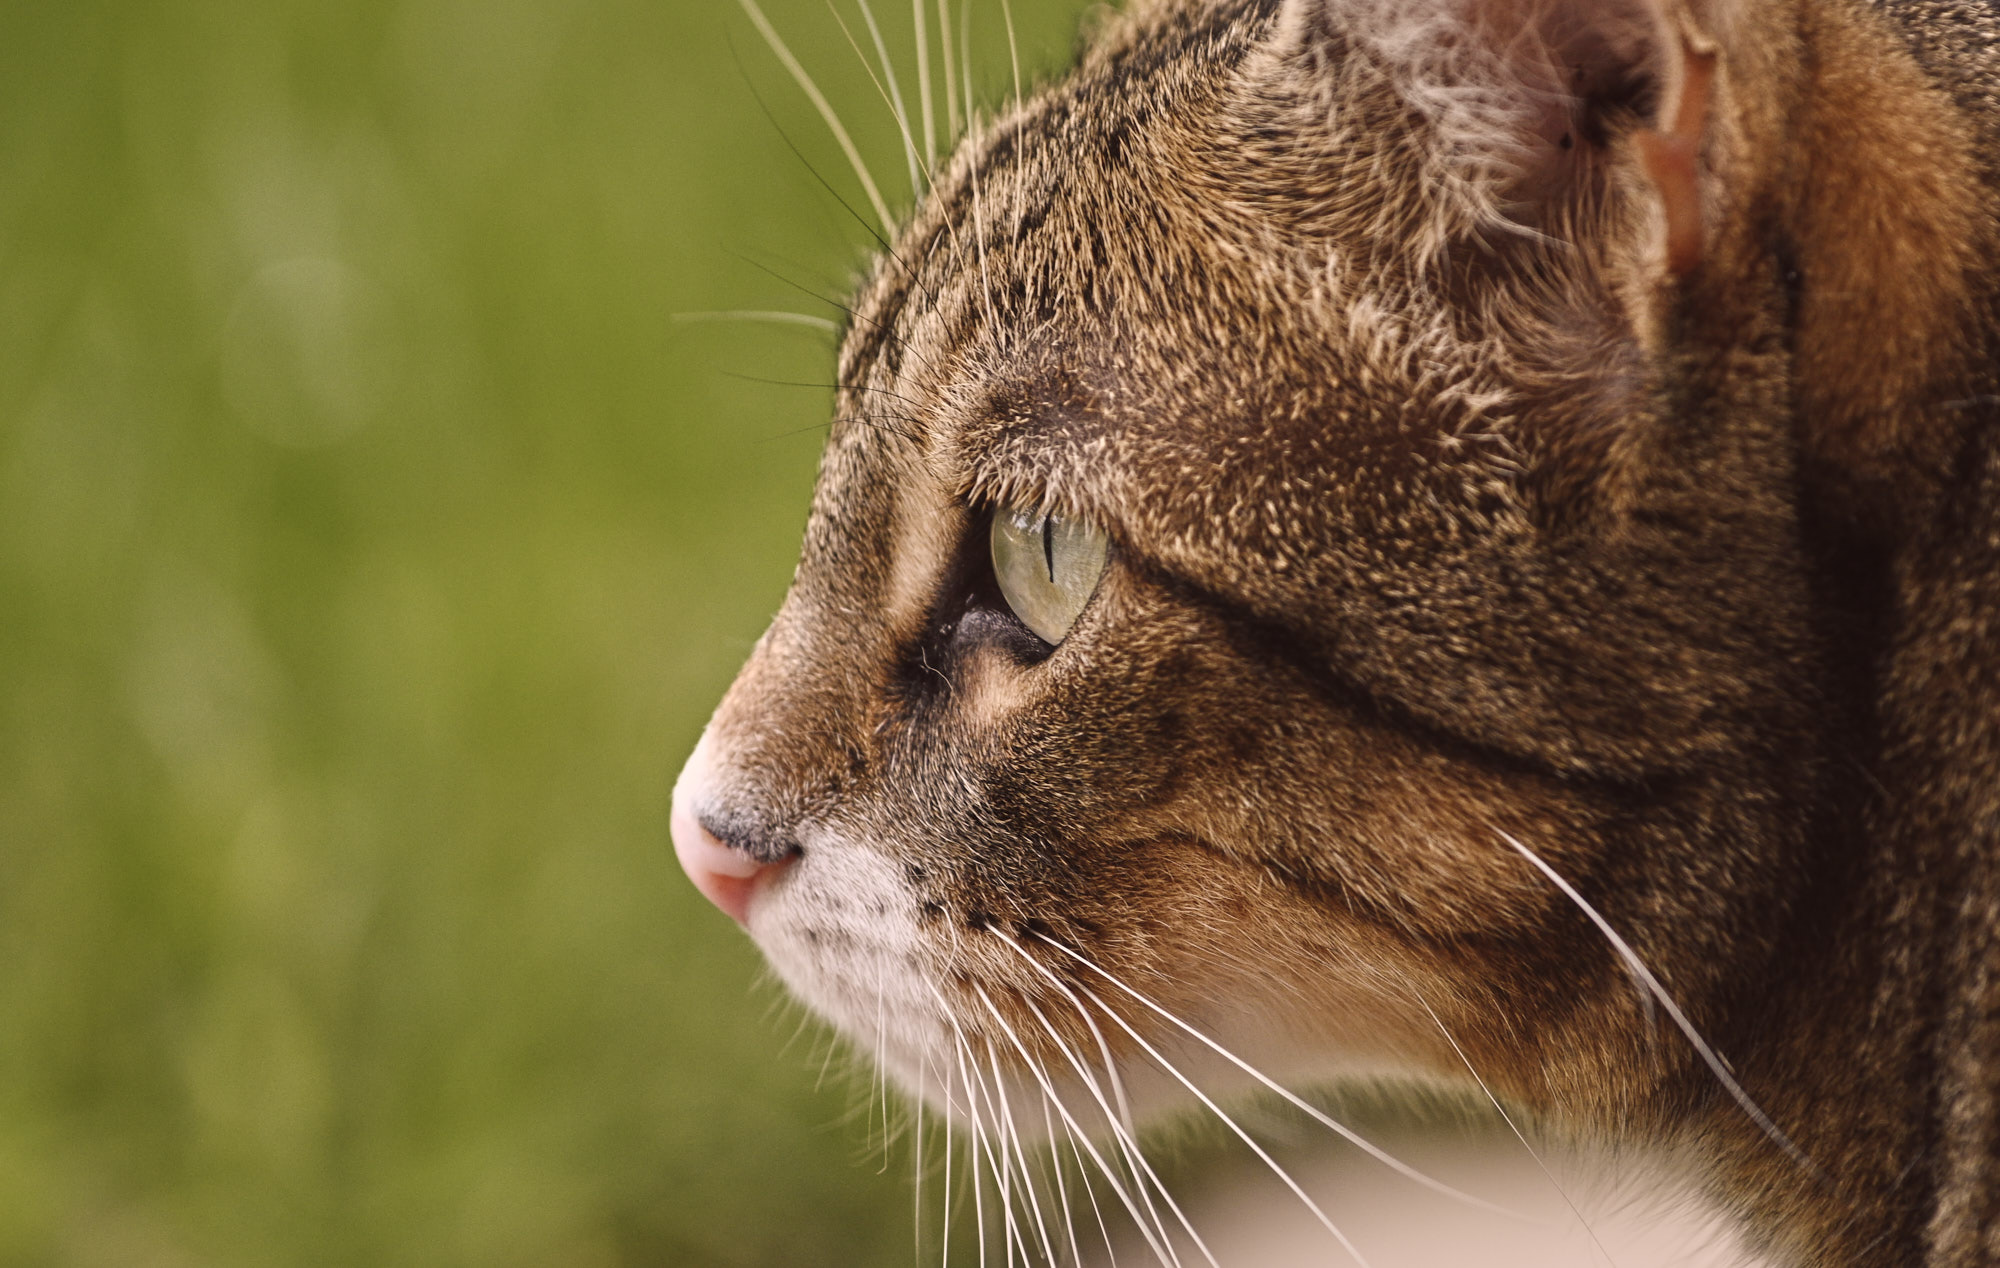
Feature image: Gallery wall in my studio

Do you print your images? And I don’t mean those tiny 4×6 or 8×10 photos that your printer kicks out on occasion if the printer head isn’t plugged from lack of use. I mean really print 30”, 40” and bigger. There are those of you that answered that questions with an enthusiastic “YES, of course, I do!” The rest of you—Shame! 😉

So I wanna ask you a favor—Not for me, for your future self. Think of your favorite image. You know which one it is. We all have a few but only pick one. Now find that gem and hold that thought until a little later.

Social media is not the ideal way to enjoy your art

It’s cool to share your passion and put your work out in the world via social media, but ask yourself, does that tiny screen really do your image justice? There is also the experience of having an image hanging on a wall somewhere that you see all the time. You get to take it in and enjoy that moment over and over. When we post our images in a social media gallery, ourselves and others only see them briefly as they are in a sea of other distractions. Plus, humans are tactical creatures. We love to see, touch, feel, and experience our world. A digital display on a tiny device is amazing for some things but terrible for others.

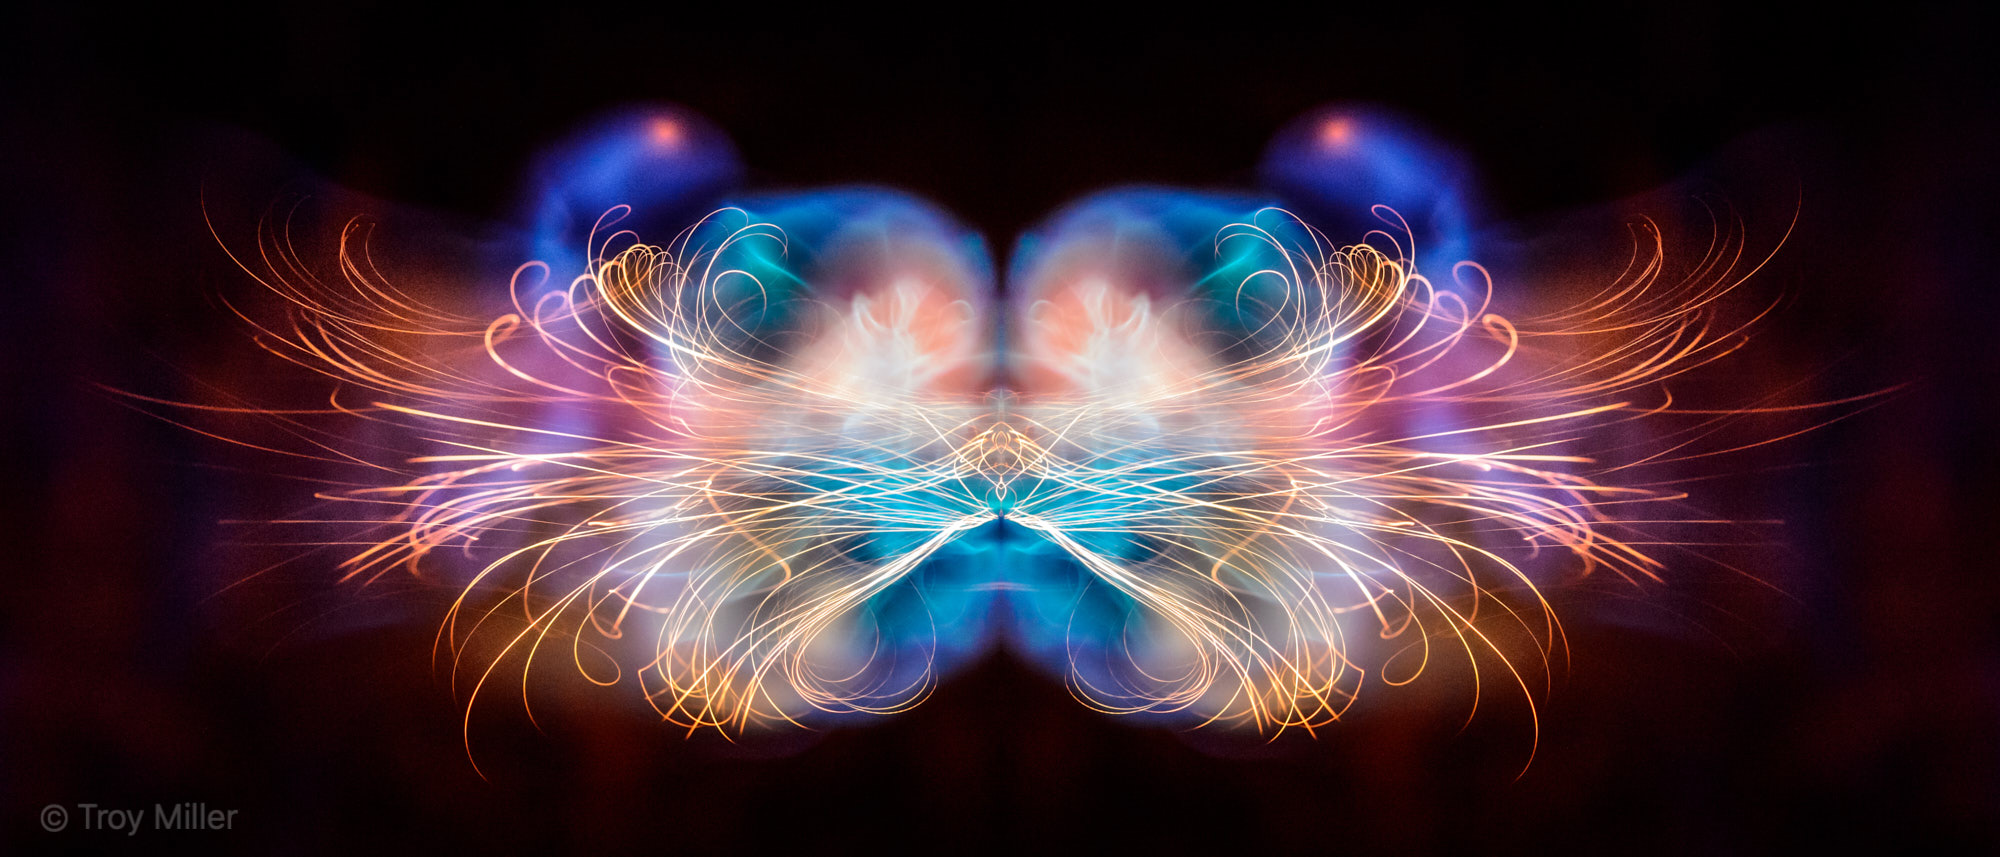
By its very nature, imagery is meant to be seen. Seems obvious, but most images created today never see the light of day other than a brief appearance on social media feeds. I’m also willing to bet that the majority of images are never seen once they hit the hard drive. Even in a world where we are overwhelmed by imagery, I’m sure there are some real beauties out there that are buried.

Imagine if all those fantastic paintings hanging in galleries all over the world only viewable on your phone. That would be so sad.

I get it, I really do. It’s not always convenient and there’s a cost involved. For me, not printing my work would be like listening to my music on an old transistor radio or watching a movie on an old TV rather than going to a theatre or a concert. Seeing your work printed and hanging on a wall will completely change how you perceive your work for the better.

There’s also the consideration of your clients. If you’re not selling wall portraits, I believe you’re doing yourself and your clients a huge disservice. Now I know there are many factors as to how you might be running your business and reasons for how you made the choices you did, but follow me on this a little further.

When you, the photographer, offer a wall portrait option to your clients you are helping them choose art for their home or business.

You’re also building and reinforcing the appreciation for professional imagery as art. This is huge in many ways. Just seeing those same images on a computer or phone screen is such a loss, and whether you are selling weddings, family images, or fine art, by printing and displaying them you’re encouraging your clients and those that see your images hanging to do more of the same.


The next steps

So if you’re not already printing you might be thinking, “Ok! I’m ready but I don’t know how to begin.” Let me show you the way.

The following steps are assuming that you’re shooting RAW and have access to a Lightroom and Photoshop equivalent.

1. Get your monitor calibrated

I personally use the X-Rite i1 Display Pro, but honestly, any screen calibrator will work great. I also recommend that you calibrate even if you don’t plan to print all the time. Keeping your screen color and brightness in check will assist you with your image expectations.

2. Finalize the image

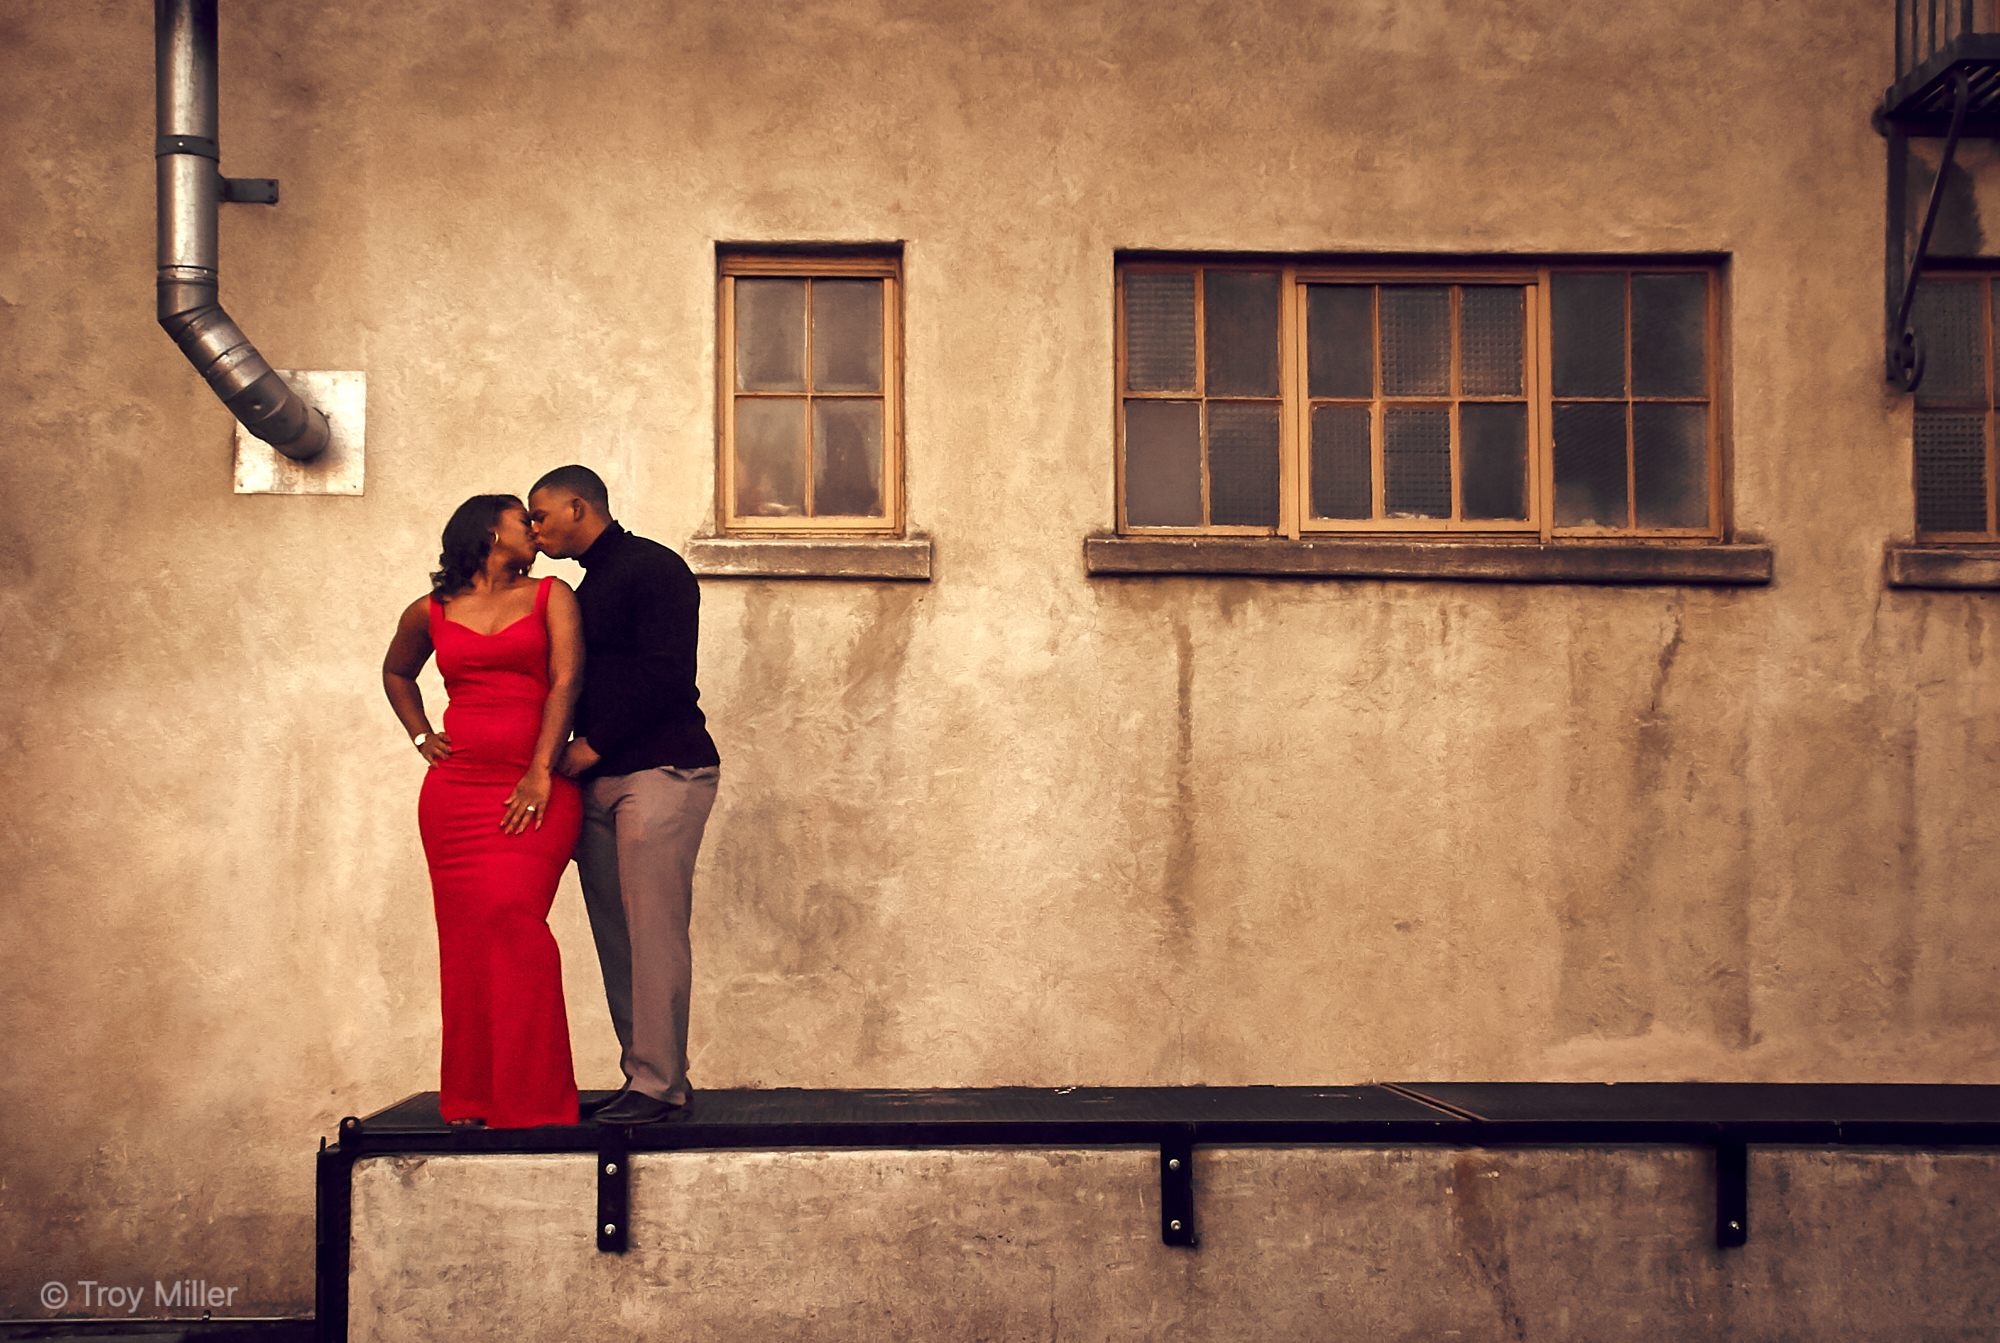
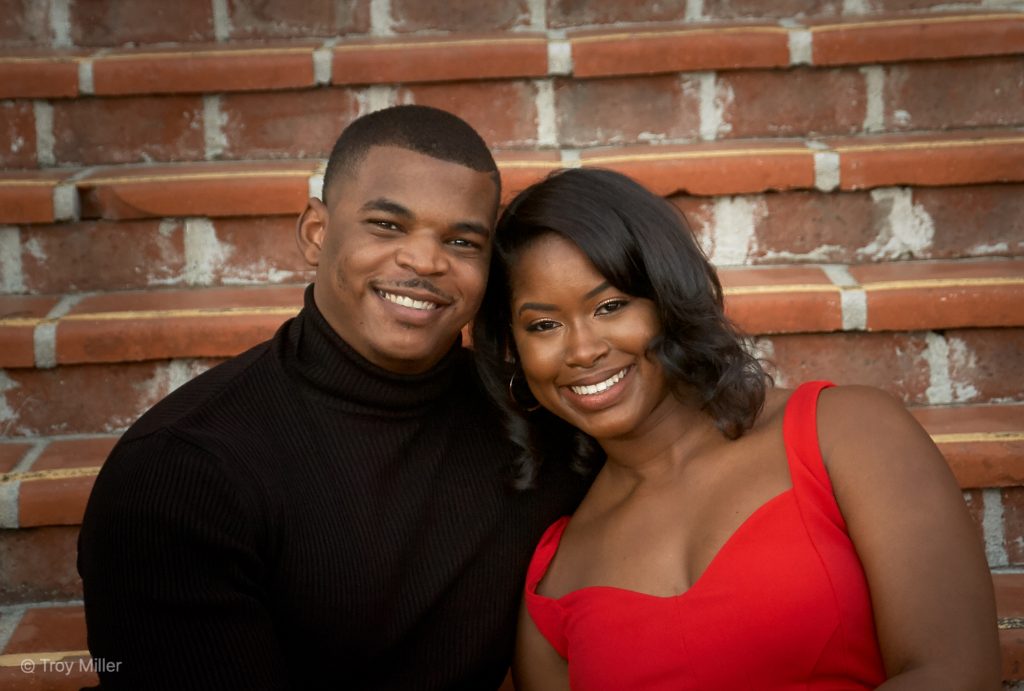
Now, Get that image you found earlier and get it all tuned and tweaked to perfection. The methods for tuning are not critical at this point and there is a lot of software options. I still use Lightroom for older jobs previously edited in Lightroom but have moved to Capture One and Luminar for the RAW edits and Photoshop when I need to push the pixels even further.

Once you have your image tuned, move that baby into Photoshop or an equivalent for a final once-over for dust spots and any additional pixel tweaks that might be needed.

3. Size for output

Now here’s the point where you may need to see what your lab recommends. I personally size my images to exact print dimensions at 300dpi and save as a JPG at 100% quality for uploading.

Let’s talk labs. I use Millers Professional Imaging as well as their prosumer lab, Mpix. I love those guys and recommend anyone to give them a look. After nearly 20 years of working with them, I still couldn’t be happier.

To help get you going, Mpix is offering a 20% off, single use discount with the code MPIX2019. No excuses now!

Now, not all labs are created equal. As a professional photographer, I use a lab that I feel is equally motivated to produce a quality product as I am. There are several factors when picking a lab:

  • Quality of product
  • Range of products
  • Customer service
  • Price

…to name just a few. I believe that a lab that is willing to be a partner in the success and growth of my business out weights pricing and selection. Quality will follow a lab that cares.

4. Choose your print material

After choosing a lab, there are the often daunting choices of what to print on. Metal, fine art paper, acrylic, metallic paper, glossy paper, mounting options, etc— The list is never-ending. Don’t be confused or discouraged with all the options. If you are completely unsure, go for a metal print if you want something a little more wall-worthy and if you just wanna dip your toe in the printmaking puddle, try a luster or semi-gloss print mounted on single weight mat board. Either way, you can’t go wrong.

The media we print on is a personal and artistic preference, as is what we choose to photograph.

So take your time and don’t be in too much of a hurry to print on the latest fad. Pick a finish that fits your style and the needs of your clients. Simple is often times the best.

Happy printing!

November 2, 2018

| by Spicyjello

The Magic of 4 Megapixels

Posted in gear, portraits

Feature image shot with the Nikon D2h | 400 ISO | f5.6 | 1/320s

There’s been a lot of new gear hitting the streets these days, so I thought I would follow up my last post with an actual shoot with a 15yr-old Nikon D2h just to see what it used to be like.

I’m very excited to see Nikon, Canon, Panasonic, and Fuji releasing some great new hardware. Even though I’m a Nikon shooter, I love the idea that the competition is pushing the tech water level higher for all of us. It’s a win-win for everyone.

But let’s take a step back for a moment from the monster megapixel, high ISO, mirrorless euphoria we have all been on and ask ourselves:

How much do we need? How many megapixels, lens resolution, high iso, and dynamic range is “good enough”?

For each of us that answer will be different. Whether you’re a serious amateur, a full-time fashion pro, or an architectural photographer, your needs are unique. For me as a wedding photographer, I need a camera with latitude—Latitude in tonal range, resolution for cropping, and the ability to focus in very low, flat lighting. For me, the Nikon D5 and D850 are those cameras. The Z7 is a contender to be sure, but still a little behind when focusing in that soft, low contrast lighting as are other mirrorless lines, but that’s an article for another time.

I should say for context, I’m not a pixel peeper. I don’t care about looking at my images at 400% or shooting resolution charts. I shoot a lot—Nearly a million frames a year and make a living from selling prints off those images. If my clients are happy and my gear stays out of my way, I can capture images as they unfold in front of me and I’m a happy creative. Now I know that sounds a little hypocritical since I have the best in Nikon’s line and it’s fair to add that until recently, I owned a lot of Sony’s mirrorless gear as well. To be clear, I want the best of the best, I love gear, but I realize that pretty much any camera can do the job. It’s the old saying that “Its the Photographer, not the Camera”.

So why am I heading down this rabbit hole you might ask?

Well, I hear all around me talk of gear and only gear. It’s amazing how fixated most photographers are about gear. There are entire blogs on nothing but gear, and those blogs usually get the most hits. For the most part, gear doesn’t make you a better photographer or get you hired. So this post is kinda that anti-gear review LOL

If I can do a shoot with a 4mp, 15yr-old camera with a dirty old crappy lens, and make a beautiful, sellable image, I’m hoping we can put gear talk aside for a while.

The next time we sit down with our photography tribe and the gear chatter begins, change the subject to posing, client relations, marketing —or I know, how about art! Talk about how to see light and capture its amazingness on a landscape or a model in the studio.

The shoot

The images shown in this post are from a very recent engagement session with my wonderful couple, Josh and Janel (much thanks for allowing me to share your images!) with which I shot the Z7, D2h, and D850.

Now I know what your thinking—No, I didn’t shoot the entire session with the D2h. These are real clients and I don’t want to take a chance of anything going wrong. The D2h is ancient in tech terms and has a tendency to randomly give me the dreaded “err” message. I can also hear a few of you wanting to see a side-by-side. Nope. This is really about what the D2h was able to give me. It’s pretty much the worst camera I could choose to shoot with, but nonetheless, it produced a beautiful set of images that are more than sellable at my usual 24” to 30” sizes.

So what’s the takeaway?

It’s up to you. For me, it’s all within the context of how good my current gear is and how little it matters whether it’s 50mp and 12fps or 24mp at 3fps, mirrorless or DSLR or what brand. Ultimately, gear just fills a need, so what’s yours?

October 18, 2018

| by Spicyjello

How Much Camera is Enough?

Posted in gear

Feature image shot with the Nikon Z7 | 400 ISO | f4 | 1/200s

Back in 2003, I was shooting weddings on a Nikon D2H that cost me $3,999. It was amazing and I thought How could this get any better? After shooting film for almost 10 years with Hasselblad and Nikon F5S, this was a dream camera.

I used the D2H for almost 3 years before adding a D3, and that’s when everything about digital changed. It worked—It was amazing and, in most ways, much better than film. After the D3 I sold all my film gear and never looked back.

Just as a reference, you can get a “like new” D2H today (October 19, 2018—15 years later) for just under $500.

As you might recall from my last post, I recently got my hands on Nikon’s new flagship camera, the Z7 mirrorless, when it arrived at Samy’s Camera with my name on it. The camera and lens kit totaled $3,999. I’ll mention now that this isn’t a Z7 review—there are a lot of those already out there. I will say, though, that this is the best camera I have ever used. Sure, it has its shortcomings (and all gear does), but as a complete package, the Z7 is truly a pleasure to shoot.


Why mention those two cameras?

Well, I decided to take them both out and do a shoot to compare what 15 years of camera evolution has really given me. And I say “me” because I can’t speak for anyone else’s use. No review can tell you how a camera will perform in your hands and react to your photographic demands. If you really want a true review, get your hands on one.

The first thing I noticed is the size and weight. Man, those mirrorless cameras have a lot to love when it comes to wear and tear on the body.
Looking through the viewfinder was another striking difference. The D2H is dark and small and the Z7 was large and bright. It didn’t feel like I was looking through a piece of equipment at all. I love when gear gets out of your way and the Z7 does that amazingly well.

I digress—Not (really) a Z7 review.

The real point of my sharing this is to highlight a question I think we need to ask ourselves: How much camera do we really need? If you’re shooting for an Instagram post and don’t plan on printing much over an 11″x14″, a D2H could be an amazing camera for you. On the other hand, if you make your living shooting images that will regularly be cropped, edited, and printed large, the D2H may not be your best choice.

All things considered, it’s just cool to look back at what gear was like and what I used to make a living with. I regularly printed 30” prints from the D2h and they looked amazing. I wouldn’t trade in my Z7 for a D2H, but a D2H could certainly perform in the right environment.


The results

Looks at these specs. WOW, what a huge difference.

D2H Native image size

8.2” x 5.4” at 300dpi 4mp 1.5 cropped sensor

Z7 Native image size

27.5” x 18.3” at 300dpi 45.7 full frame sensor


Full images

Nikon D2H Full Image

Nikon Z7 Full Image


Images at 100%

Nikon D2H at 100%

Nikon Z7 at 100%

October 8, 2018

| by Spicyjello

Nikon Z7 and SpaceX

Posted in gear
SpaceX Falcon 9 launch captures with a Nikon Z7

Featured image shot with the Nikon Z7 | 8,000 ISO | f4 | 0.5s

While driving home from celebrating my daughter’s birthday over dinner this past Sunday, one of her friends noticed a brilliant pattern of colors exploding in the night sky.

That was the moment when my brain screamed: “Where’s my camera?!”. After calmly driving down the streets of our neighborhood and finally reaching our driveway, I ran into the house to grab a camera. I have three to choose from: the Nikon D5, D850, or the new Nikon Z7. Having already played with the new Z7 for a week or so and experiencing how amazing the image stabilization is, I quickly made my choice. With the 20-70  f4 lens attached, I was out the door shooting all handheld.

Initially, I considered shooting video but knew that I would screw it up—I rarely shoot video and I knew the spectacle wouldn’t last much longer, so I went with what I knew.  I immediately dialed the ISO up to 8,000 and started firing off frames as SpaceX’s Falcon 9 rocket raced through the sky. I was pleased that the Z7 was grabbing focus just as I would have expected my D5 or D850 to do. As the light show was beginning to die down, I grabbed my Sigma 85 1.4 Art Series and continued shooting, keeping my eyes fixed onto the camera as I followed the light all the way to the horizon and out of sight. When I did drop the camera, I was amazed at how much light the Z7 was able to make out despite the sky having dimmed so rapidly.

Although I don’t consider the images I captured to be the most spectacular, this spontaneous moment proved to me that the Z7 has now risen as a strong contender.

SpaceX Falcon 9 launch captures with a Nikon Z7

Nikon Z7 | 20,000 ISO | f4 | 1/6s

SpaceX Falcon 9 launch captures with a Nikon Z7

Nikon Z7 | 10,000 ISO | f1.4 | 1/50s

Final thoughts

To give you a little background, I have a Sony A7Rm2, A7m2, A7r, and a large collection of glass. Needless to say, I love Sony gear—I really do (except for how it focuses in low, soft light).  I mostly use my Sony gear for my personal work of abstracts and fine art, while the D5 and D850 perform as my workhorses for my wedding work. Despite the fact that I think the Sony gear is some of the finest our industry has ever seen, it just doesn’t compete with the functionality of my big Nikon gear.

So as a full-time professional photographer for 25+ years who loves different types of gear, this “experiment” left me extremely impressed with the Z7. It really is one of the big boys. It “feels Nikon”, the lenses go on the same way, the lens release button is on the same side, and of course, I can use all of my current Nikon glass—A huge plus! All in all, it’s not that the Z7 is necessarily hands-down better than the Sony. It’s just different. But in my hands, the hands of a 25+ year Nikon shooter, it makes all the difference.

I’ll simply end by saying that there is often a lot of chatter about how Nikon missed the mark, could have done better… blah blah blah. In the case of the Z7, I think they designed exactly what they meant to—An amazing companion (rather than a replacement) to the D5 and D850.

← Prev 1 2

Recent Posts

  • Love, Engagement, and an Umbrella
  • Visualize the Masterpiece
  • From Brides to Post-Apocalyptic
  • Embracing Tough Lessons
  • Why I Love Aperture Priority

Recent Comments

  • How Much Camera is Enough? – Spicyjello Fine Art on Nikon Z7 and SpaceX
  • Spicyjello on Visualize the Masterpiece
  • James Peters on Visualize the Masterpiece
  • Spicyjello on Embracing Tough Lessons
  • Jeff Aadnesen on Embracing Tough Lessons

Archives

  • May 2025
  • April 2019
  • March 2019
  • February 2019
  • January 2019
  • December 2018
  • November 2018
  • October 2018

Categories

  • creativity
  • gear
  • Inspirtion
  • portraits
  • Printing
  • Software
  • Technique

Meta

  • Log in
  • Entries feed
  • Comments feed
  • WordPress.org

Prints for Purchase

All images posted here are available for purchase in a variety of sizes and methods from Premier Artists Collection, a gallery featuring select artwork by myself and other photographers throughout the globe. You can visit my collection to learn more.

All Images Copyright © Troy Miller. All rights reserved.