• Gallery
    • Fire
    • Ice
    • Water
    • Kelp
  • Thoughts
  • Resources
    • Custom Styles
    • Favorites
  • About
  • Contact
    • Schedule a Meeting
  • Gallery
    • Fire
    • Ice
    • Water
    • Kelp
  • Thoughts
  • Resources
    • Custom Styles
    • Favorites
  • About
  • Contact
    • Schedule a Meeting

creativity

February 12, 2019

| by Spicyjello

From Brides to Post-Apocalyptic

Posted in creativity, Inspirtion

As a creative and full-time wedding photographer, I spend a significant amount of time creating. It’s not always in the real world, but nonetheless, my mind is always looking for inspiration and resources for the next image or “thing” I want to build.

With my day to day often consisting of emails, phone calls, and other distractions, I seem to “feed the artist” less than I would like. So when I’m part of a photography group (IEPPV) and am tasked with helping organize a “Post Apocalyptic” model shoot in the desert, you can bet my inner creative gets very excited.

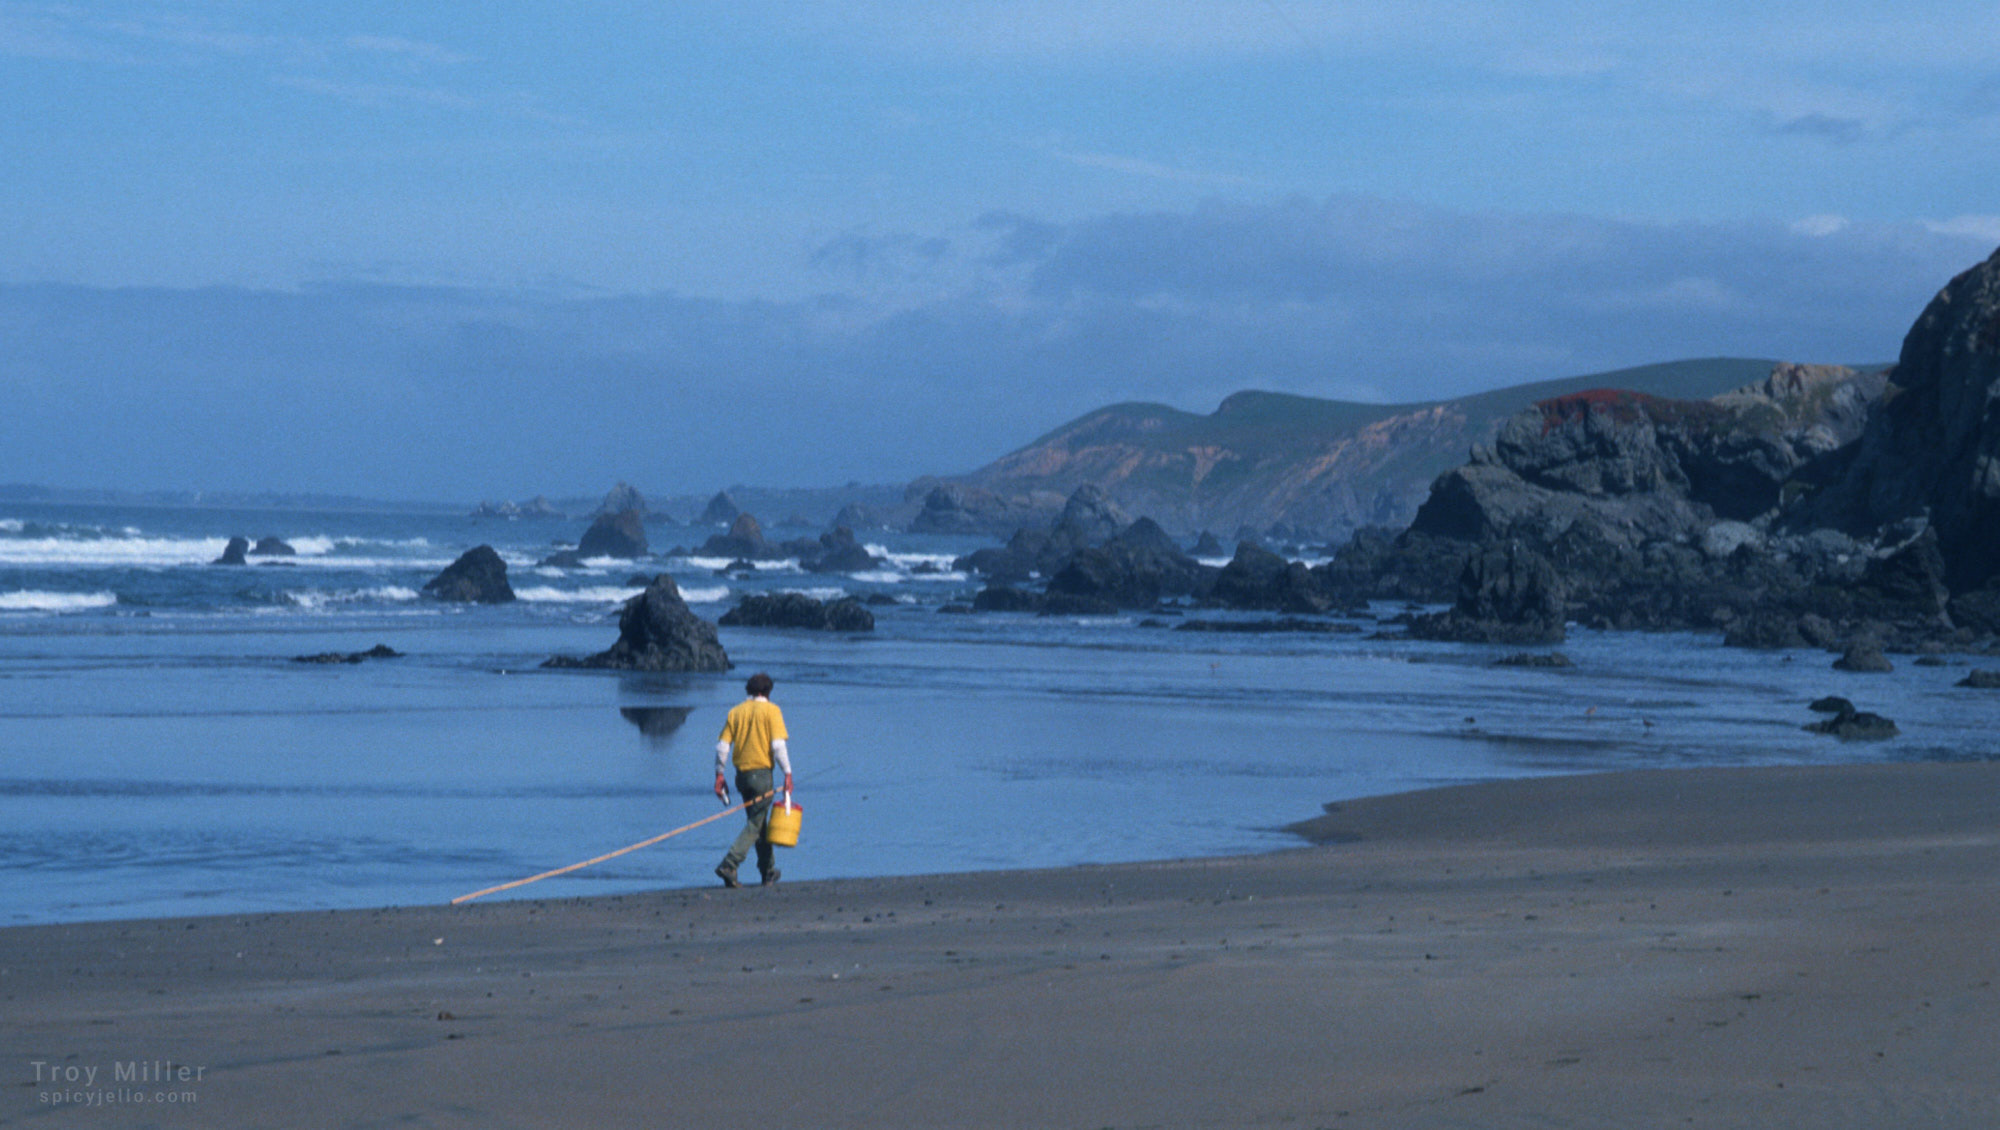
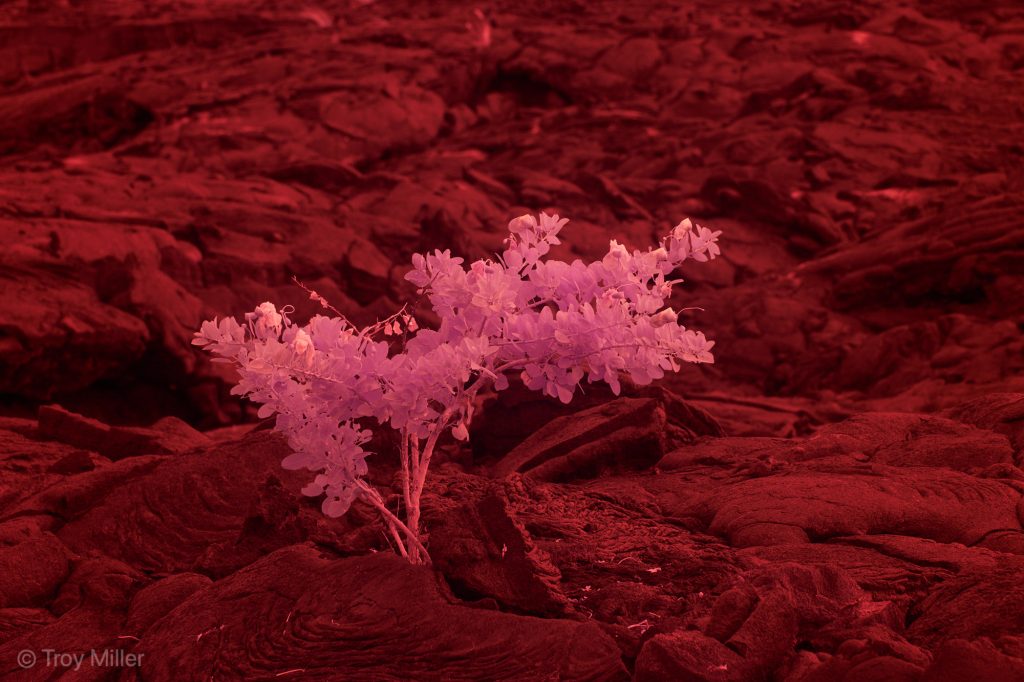
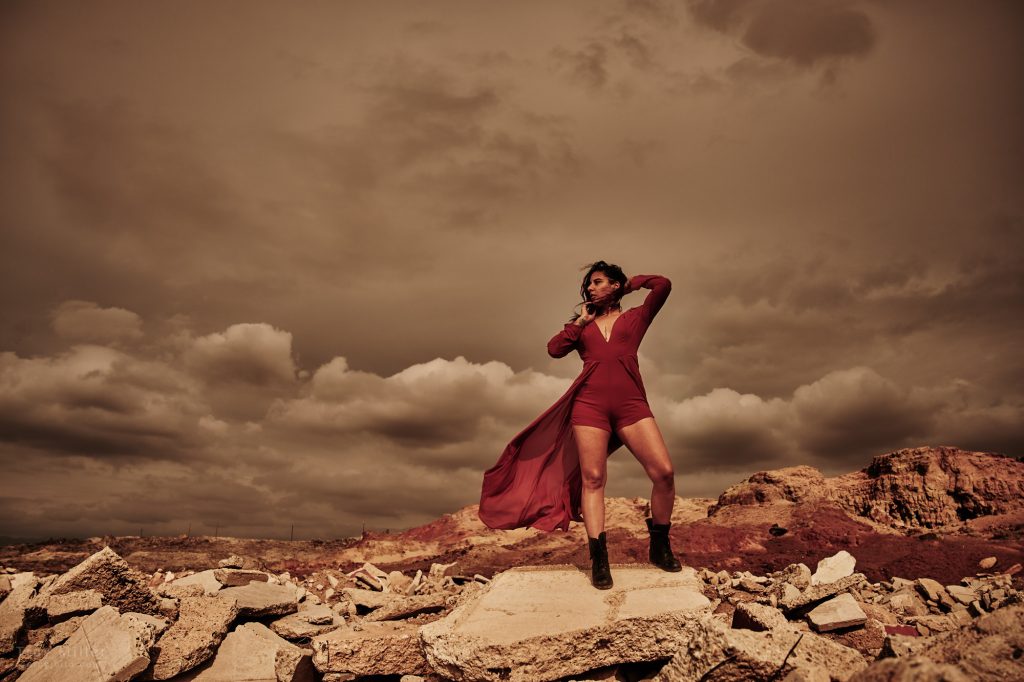
My job was to find the best location to make this shoot fun for both the models and attending photographers. The Salton Sea is a little over two hours away from me, and a place I try to visit often. It really is the most beautiful and desolate place I know. I love the starkness of it. When first-timers come to the Salton Sea, they are usually greeted with a wonderful stench and a lot of dirt and dust. Despite the day’s rain, mud, and only mild odor, it was a perfect location!

In addition to getting to revisit the Salton Sea, I was looking forward to photographing a set of humans I don’t regularly get to put in front of my camera—Post Apocalyptic models! On top of being fantastic performers, the models we had were such cool humans. It’s not an easy job to be thrown at a group of image-hungry photographers and remain so enthusiastic. I want to thank all our models and the groups to which they belong for coming out and playing with us.

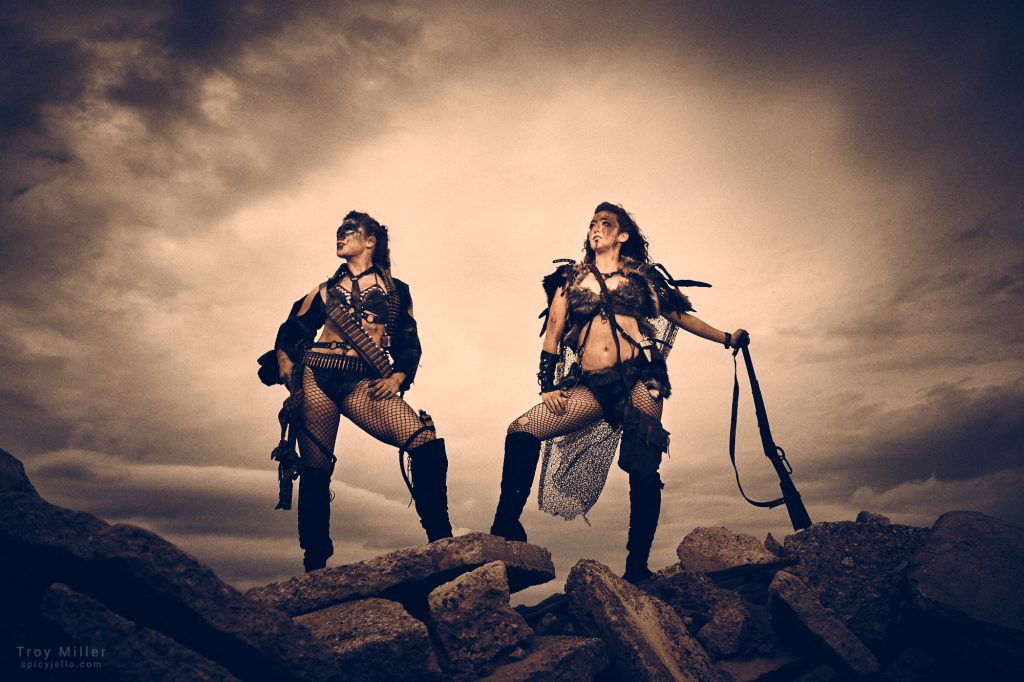
Sarah and Brita making it look easy. Costumes provided by The Ciccarellis

The reason a shoot like this matters to me as much as it does is that I get to play. I get to experiment and test new ideas. I get to step outside of the world that I know so well, and in turn, force myself to see differently and work with different tools. It’s absolutely wonderful, and I find it essential for me to maintain my creativity.

Pushing your creativity

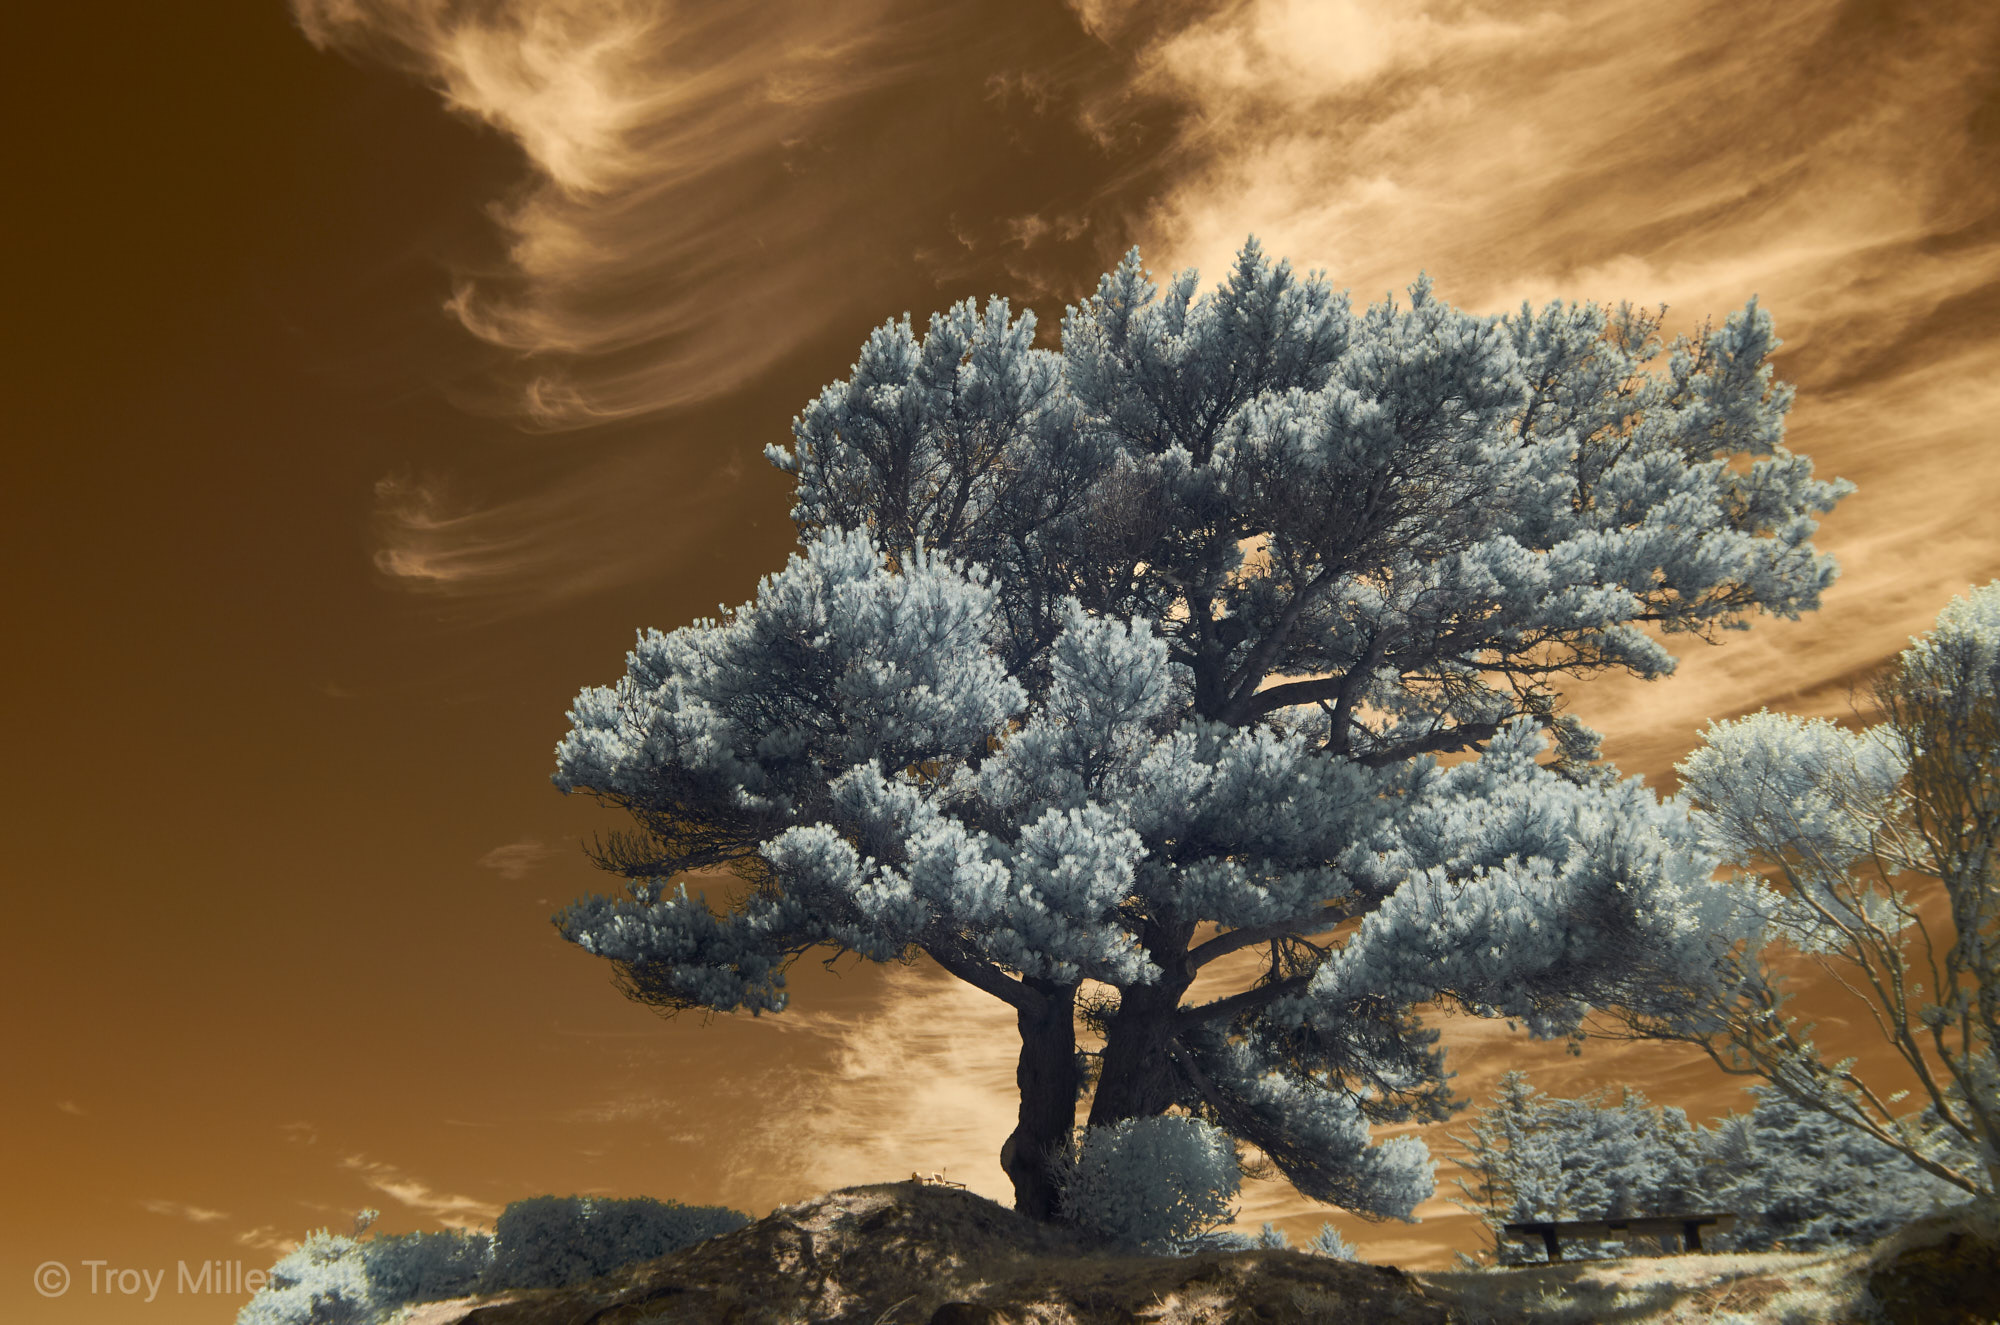
I’ve had many conversations with other photographs about “why should they want to shoot models when they are landscape photographers”, or “what’s the point of learning macro and focus stacking if they only shoot sports”. In short, I believe studying all disciplines of photography will give us skills that can be used in any other photographic discipline.

For example, focus stacking works great for macro, landscape, and commercial. Also, as a portrait photographer, I never saw the need to better my landscape photography until someone helped me see—All my landscapes at the time were focused 1/3rd of the way into the scene and shot with a very shallow depth of field as if there was a person in my plane of focus. It sounds silly now that I write it out, but that’s all I knew. Once I learned to capture the entire scene, I realized I could place a person into the landscape, and as a result, have a more unique image featuring the scenery and the added subject. It’s a Win-Win. So in the end, learning to shoot landscapes helped me be a better wedding and portrait photographer.
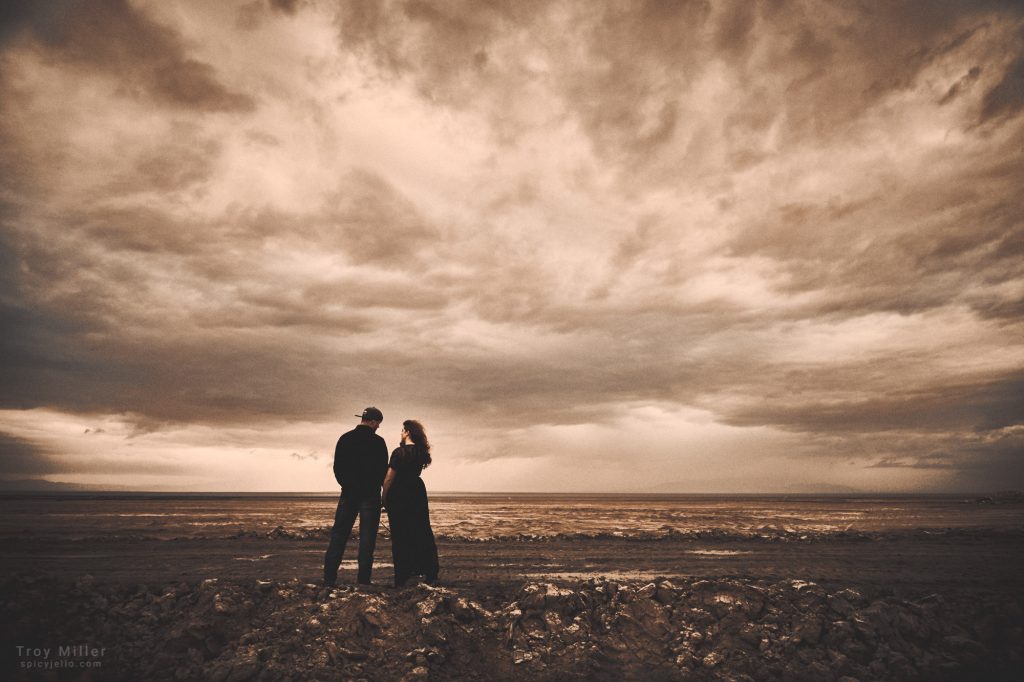
Monique & Blake

Turning the tables

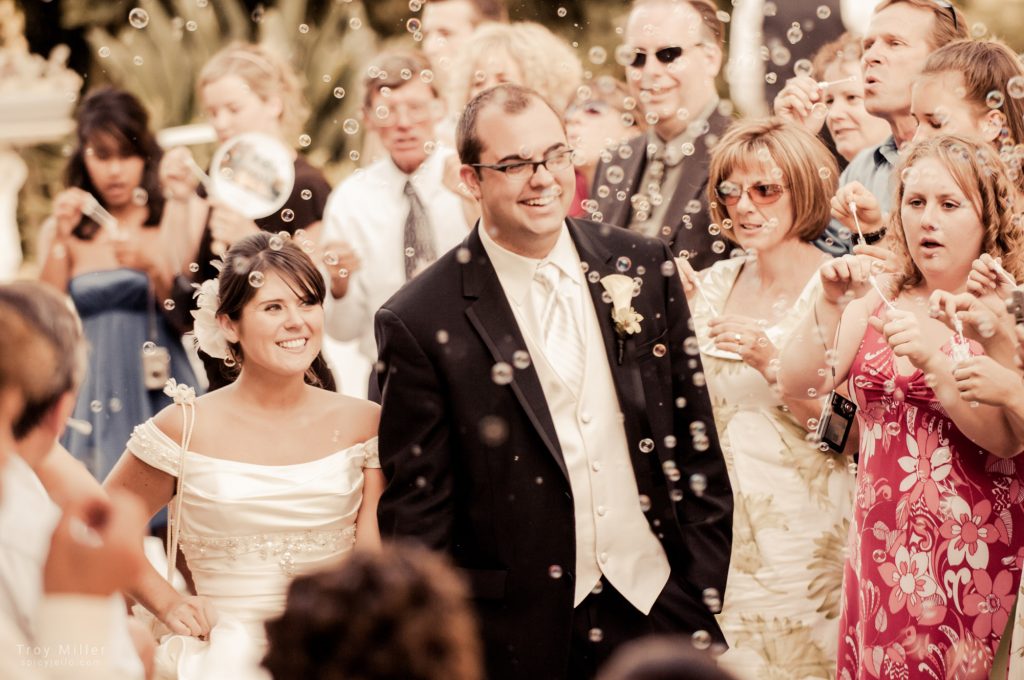
Brides wear dresses, veils, and don’t tend to move fast, while post-apocalyptic models have swords, clubs, and other cool toys that shoot fire while riding around on a 2-wheeled machine driven by a snowmobile in the desert—Two very different creative opportunities. The challenge of being presented with something totally different is that the methods of posing and lighting that you’re used to won’t always work. This forced me to take a step back and think about my surroundings more, looking for the direction of light and how it enhances or detracts from the costumes. Also, I had to consider what lens would tell the best story. Anyone that shoots regularly usually has a tendency to fall into a routine and risk becoming mundane. Shooting something completely different from our norm helps promote the thought process that leads to new ideas. I’m pretty solid at posing a bride with a bouquet and managing a veil, but when I have a model sporting a shotgun, bullet belts, a sword, and hair that would make any 80’s hair band jealous, it’s a whole new challenge and I love it.

I try to really embrace the challenges that force me to stop and solve a new lighting situation or pose someone on a pile of concrete. The new and unfamiliar environment is just familiar enough that my set of skills can get me the shot I want, yet I’m still required to think out each step rather than rely on muscle memory. This is when the magic happens: Initially, my brain doesn’t know what to do with the new scenario, but after a moment or two I begin to go through my toolbox of what I know. Suddenly an idea comes, so I pre-visualize the shot and begin to calculate the route needed to make the image. This is when I push my regular skill set and require myself to work off intention rather than instinct.

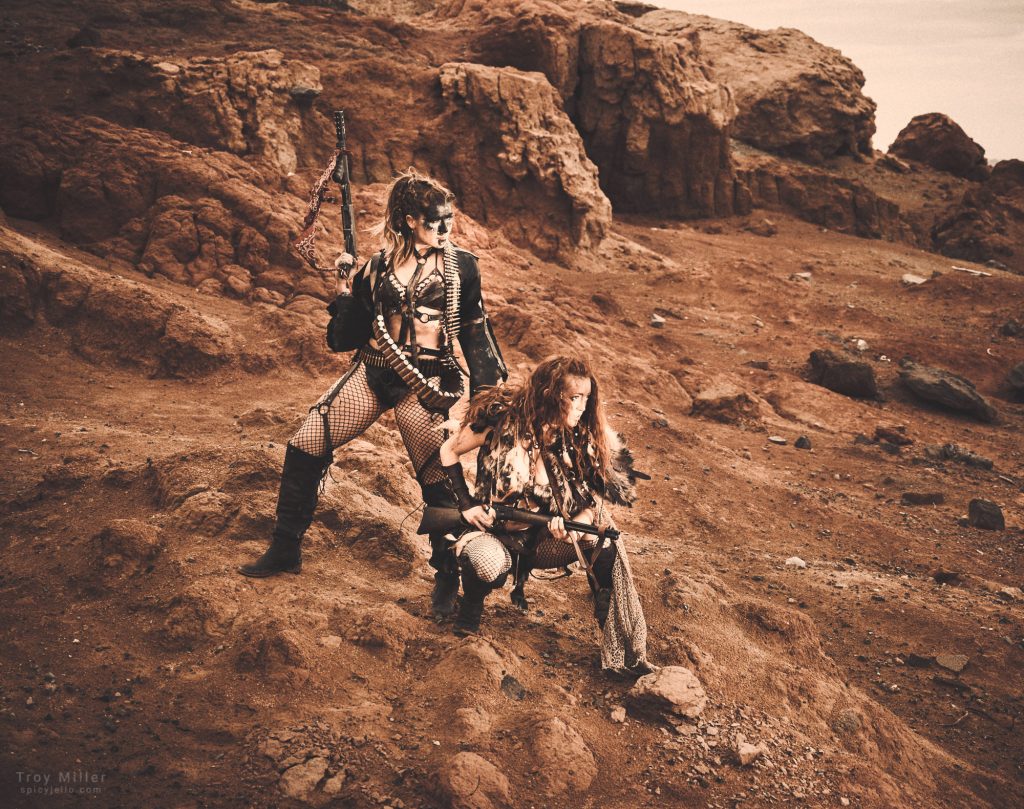
Sarah and Brita. Costumes provided by The Ciccarellis

Light is light

Ultimately, I see this experience as an exercise for my creative muscles. If we don’t push and challenge ourselves, we can’t grow in the same way. Whether I am photographing a landscape, fire, brides, or models in the desert, I will always have an opportunity to learn and add to my photographic bag of tricks.

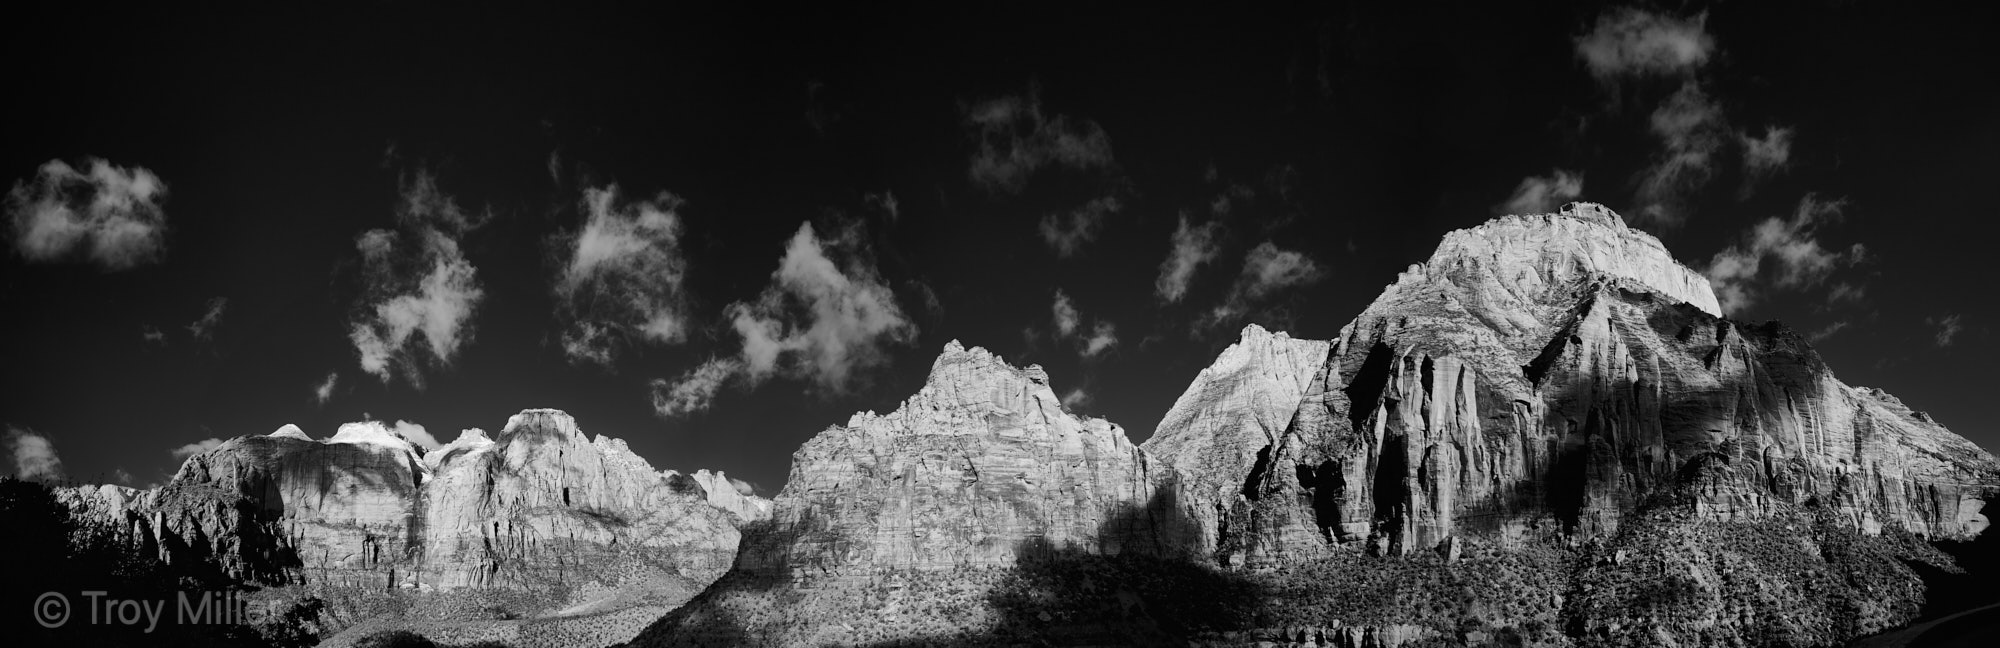
Regardless of what we are photographing, light is light. Light scraping across a mountain range at sunset revealing the texture and depth of the canyons behaves the same as an off-camera strobe positioned to scrape light across chainmail or the subtle beading of a wedding dress—Quality light matters regardless of the subject. You can use a handheld reflector in the studio or position your subject outdoors to benefit for light striking the side of a light colored building. Shadows from trees or building are just gobos in nature.

Feylan

At the end of the day

Regardless of your skill level or what type of photographer you identify as, saturate yourself in other disciplines of photography. As a portrait artist, you may not think there is anything to learn from landscapes, but I would suggest that you’re missing out on a valuable set of skills. Having the ability to read a vast area of light, shapes, and lines and knowing where to place a subject can be a game changer. The same goes for you landscape shooters—Learning to shoot in a studio with 100% control over your lighting and the opportunity to experiment with lighting types/direction could offer an edge when planning a location.

Understanding how light falls on an object, whether it’s a person, a mountain or even the moon, could be the difference between a simple image or an extraordinary one. Take a leap and learn a different skill, and at the same time, teach someone yours.

IEPPVSalton Sea

February 6, 2019

| by Spicyjello

Embracing Tough Lessons

Posted in creativity, Inspirtion
Fisherman on Dillon Beach

Sometime in 1995, I attended a workshop with a portrait photographer named David Peters. He is a fantastic portrait artist and taught me that the people I was photographing were more important than the gear used to create the images. Throughout his workshop, we worked to create images that conveyed emotions and told a story of love and connection between our subjects. We were never distracted by looking at the backs of our camera to see if we got the shot—We instead trusted our skills and turned our attention to our clients.

Yes, I rocked the mullet and needed a tripod for that beast of a camera.

The first turning point

At that time in my career, I was shooting film with a Hasselblad 500cm. The Hasselblad was a fantastic camera, and although fully manual, I found it easy to work with. At that time, I used a huge Quantum Q-Flash for every shot. This flash was huge and required a separate battery pack. No speedlites with TTL for me. Outside the studio, David rarely, if ever, used a strobe. Not shooting with strobes took me by surprise since that was all I knew. If you had asked me before the workshop if I thought there was a better way to light, I’m reasonably sure I would have said no. After spending several days shooting without a flash and working with David and other students in the workshop, I decided then and there—No more flash for me unless the lack of available light demanded it.

Now imagine: You’ve just come home from a week-long workshop and in two days you have a big wedding with your photographer wife, and you break the news that you are no longer going to use flash. Oh, the look on her face! To her credit and having spent time at the same workshop, she trusted me. That wedding’s couple, Angie and Ott, are still married today, and I proudly remember that day as the first step to radically improving my photography from that moment on. Not only did I learn a new technique, but I was also humbled to realize that I didn’t know as much as I thought I had. From that point on, I never wanted to feel as if I was behind on my education again. I haven’t spoken to David in many years, but I will always be grateful to him for helping put me on the path I’m on today.

Who moved my cheese?

In 2008 the market took a significant turn for the worst. The tech bubble popped and the Dow made its 3rd largest drop in history losing 778 points. For me and my business, this was hard not only to see some retirement investment take a hit, but it was a low year for booking weddings as well. Up to this point my wedding business, Imagery Concepts, had been growing year after year with no paid advertising—Just good old word of mouth. In the years leading up to 2008, we averaged 30 weddings a year and were considered expensive in our area. We were doing great, and until the crash, we had no real worries about future bookings.

In contrast, we did 16 weddings in 2008 and didn’t do much better in 2009. We figured it was the market and all we needed to do was be patient and wait it out. I was very wrong. As I got more worried I started talking to my vendor friends, like DJ’s, event coordinators, and other photographers. For the most part, we all felt the same way. There were a handful of people, however, whose businesses had continued to grow throughout all the market drama. I was shocked and more than a little upset at myself for being so complacent. It turns out that, yes, my industry was affected by the market, but the brides had not left—The market and how I reached them had merely shifted. My cheese had been moved. If that reference doesn’t make sense, check out the book “Who Moved My Cheese?” by Dr. Spence Johnson. A great little book about how we get too comfortable while the world changes around us without us noticing the trials and tribulations that often follow.

Once I realized that, although the market did create a shift in my business, it was me that was ultimately responsible for the decline in business. I immediately got to work on how to regain the ground I had lost. I learned that to stabilize my business and gain year to year success, I needed to diversify my offerings. I still needed to do weddings but also the maternity and the families that followed. In addition, I dabbled in commercial, worked on a stronger website, and built more effective marketing materials. Since 2008, I have taken better control and direction of my business avoiding many of the industry ups and downs.

Shot from a 2008 wedding at Kimberly Crest in Redlands, CA. Daniel and Audrey are still very happily married with two amazing kids.

A punch in the gut

I’ll admit that in 2010 after the recovery from 2008, I was not ready for any more slaps upside the head, but then again, whoever is?

I attended a wedding convention in Las Vegas that I had been to before but never really engaged. WPPI (Wedding & Portrait Photography International) is a massive event with significant learning and socializing opportunities. This time I was ready to dive in, learn, and meet some new people. I spent several days watching speakers and attending workshops.

By this time in our career, my wife and I had been shooting weddings full-time for 18 years, and there wasn’t a lot of new or revolutionary content at the show that piqued our interest. I was not expecting, though, to see the WPPI image competition images on display. I can only describe what I saw as a punch in the gut.

I’m a full time working pro, I thought.

I make a great living shooting weddings and my brides are excited to see the work I have created for them.

I started in film, transitioned to digital, and my work only got better. I’m good. I know I am.

How can the images I’m looking at be that much better? Have I been living under a rock?

I’m creative, why didn’t I try that?

I must admit, I was a little more than taken aback by what I saw—Brides underwater, hanging from a helicopter, riding a dirt bike, or sitting in a fairytale style landscape with a castle in the background. Many of the images were composited and many were in places I could never go with a couple on a wedding day. However, what I saw were images of my peers pushing their ideas, skill, and creativity outside what at the time would have been the acceptable client-level imagery. Seeing those images ignited in me the idea that I can be more artistic and take more risks with my work. I felt justified to experiment a little more when the wedding day schedule allowed and push my creative boundaries. In practice, the most fantastic experience happened. My couples loved what I was doing—Another growth moment!

After more than 25 years of shooting full-time for my groceries, I have come to learn that the moment we believe we are either good, learned all we need, or take our eyes off the ball, we are setting ourselves up to fail, and if we are not careful, someone will move our cheese. Competition is a fierce drive, but our own creative desire to be better should drive us even more. It’s a little cliche I know, but it’s so very true. Never stop learning! Never stop growing and never think you have arrived.

Our groom Andre on his wedding day being amazing! This image was featured on the cover of PPA Magazine.

Still growing

I feel the next big growth moment for the creative community will be the management, and often the moderation, of how social media plays into what we create. Social media is terrific for sharing our art but can often be one of the greatest enemies of creativity. Pablo Picasso said, “The chief enemy of creativity is good sense”. I would add that chasing followers and “likes” can be even more destructive and certainly more distracting than even “good sense”. I’m not advocating for total social media abstinence, but I suggest that you remove yourself from the praises of strangers and put yourself in a place with just yourself and your work. Without the constraints of trying to impress the masses and creating for the purpose of acceptance by those masses, I believe you can and will create more freely and truthfully. Use social media to share your amazing gifts as a creative rather than letting it dictate to you.

A good friend of mine recently told me that he once spent $25,000 on some of the best gear the industry has to offer just so he can make images for Instagram. He lost sight of his creative voice and got hung up on the “like culture”. Good news, though, he’s now on track and back to creating. Checkout Michaels latest work on Instagram @michaelcoutts_photography  and an interview he did with Frederick Van Johnson on ThisWeekInPhoto.com. Episode 540

In the end, never be complacent, never stop growing, question everything, and always strive to be a better you regardless of whether it gets you “likes” or not.


This post contains affiliate links. If you’d like to learn more, see my affiliate disclaimer here.

December 9, 2018

| by Spicyjello

Why Infared is Awesome

Posted in creativity, gear
Zion Infrared pano shot with the Nikon Z6

Infrared: The other light.

Have you ever wanted to take a peek into a hidden world, another visual universe, or see the unseen? Well… you can with infrared photography.

With infrared photography, you see a spectrum of light just outside what our eyes can detect. It’s not the infrared you see in the movies though; you can’t see in the dark with a camera and not everything will be that cool, Matrix green. Although, with an infrared light source, you actually could see and photograph in total darkness if you wanted.

Infrared photography will allow you to see everything around you in a different light (pun intended)

My first encounter with infrared was with a friend of mine while we walked through the desert. I was shooting color and he was shooting infrared. I looked at the back of his camera and was blown away— It was black and white but new, amazing, and not something I could simply match by converting my images to black and white.

As a result, I quickly converted my Nikon D7000 and took a 3-week road trip to Washington. I expected to “test” the infrared on the trip and shoot with my other gear to capture most of the trip in color.  Well, that’s not what happened. Once I started to see the world in infrared, I never looked back. I shot 90% of my trip in infrared (aka 1000s of images). All of those fantastic mountains and lush rainforests—All infrared. Coastal lighthouses, small towns, and bridges—Definitely all infrared. It was amazing for me. I saw something entirely new, and it was exciting to say the least.

Infrared is impressive to me for a couple of different reasons

1. It’s unpredictable

First, I love black and white photography and I think everything looks best monochromatic. I spent countless hours early in my career agitating 35mm film in developer and then many more hours in the darkroom rocking a developer tray—So the monochromatic force is strong in me. Sure, I can convert and tweak a color image to black and white, but it’s normal, and everyone can do the same.

Infrared is different, challenging and unpredictable, Perfect!

For those of you that want more than a monochromatic experience, there is faux-color infrared. Depending on the conversion method and the amount of visual light allowed to hit the sensor, there can be an interesting duo color element to play with.

2. It’s unexpected

Another reason for my love of infrared is that it surprises me. I have been a professional photographer for just over 25 years at the time of writing this, so I’d say I’m good at seeing and using light. Infrared is just different enough that I can’t always predict how someone or something will look.

Although properly handled, infrared can produce some soft and unique skin tones. The real advantage of infrared is landscapes. Infrared changes everything. Skys go dark, trees, water reflections, pretty much everything changes. It’s like an additional layer just under the surface of what we are used to seeing, and for that reason, I LOVE Infrared.

Pro tip: People usually don’t look great, as their eyes go dark and their skin appears pale. It’s great for the Halloween season but not so great for brides and portraits.

How to get started

So, you ask, “what’s so different and how can it be better?” I hear ya. Who wants to take an expensive camera and make modifications? Besides me, that is LOL.

Here’s some examples of what you have to look forward to after taking the step of infared conversion:

But now that you’re convinced, what’s next? It all starts by converting a camera, which can cost between $300-$400. Don’t worry—Your converted camera can always be returned to mundane color, and the cost for converting back is usually much less than the original conversion. I won’t go into the technical details here; you can contact my favorite conversion experts at Spencer’s Camera. They will guide you and answer all of your technical questions. They also have a very informative website full of images and additional articles—Well worth having a look.

Choosing the details

When looking for a body to convert, I’d say a mirrorless camera is best, and my most recent and favorite conversion preference is the 590nm. This conversion allows in additional visual light which will enable me to tweak and play a little more with the colors and conversion to black and white.

A bonus of a mirrorless camera is the active viewfinder, whic makes shooting much easier. Otherwise, use a camera that can shoot and focus via live view to eliminate the need to calibrate a lens.

Keep in mind: Infrared light does not focus properly when being bounced in a DSLR if you don’t have a properly calibrated lens. Everything will be slightly out of focus as a result.

Post processing

Once you have a converted camera and filled a memory card with infrared amazingness, processing your images will be the next big step. If you shoot RAW (and you do only shoot RAW right?) then your images will be very magenta/red, like this:

A simple conversion to black and white will get you started on your journey to infrared bliss. Keep in mind, though, that there are colors in that image. On elements such as skies or grass, try using the white balance eyedropper in Lightroom, Capture One, Luminar, or whatever raw editor you prefer, before converting to black and white. The white balance can have a pretty dramatic effect.

Now you’re ready to play

Now that you’ve got your infared converted camera and post-processing methods figured out, it’s time to walk outside and point your camera at everything. Pine trees and succulents will glow even in the shade. Oak trees, not so much. Blue skies with clouds are amazing, and water is always a surprise. If you like to photograph people, give it a go and don’t stop playing.

If you would like to see me do some infrared editing, checkout this “Watch Me Work” episode on ThisWeekInPhoto.com

Now that you’re excited and ready to make the leap or perhaps do more research, I have some assistance for you. Check out the fantastic humans at Spencer’s Camera where I do all my conversions and those of all my friends. I’m a longtime customer and am not endorsed by them in any way. I truly recommend them.

When I picked up my recently converted Nikon Z6, I mentioned to them that I wanted to write an infrared post and they gracously offered a coupon code that I could include for all you amazing people.

Use the code spicyjello25 for $25 off anything over $200.

May you have a wonderful time exploring your infrared world!


This post contains affiliate links. If you’d like to learn more, see my affiliate disclaimer.

If you would like to support the efforst of this site, simply shop at Amazon using this link.

infraredZion

November 23, 2018

| by Spicyjello

Creatively Obsessive

Posted in creativity
abstract fire image by Troy Miller

There are so many things that go through my mind as I’m photographing a client. Posing, expressions, body language, my camera settings, background, and lighting. Oh….and that tiny piece of hair that is just sticking out below her chin on a silhouette or his fingertips just sneaking around her waist.

Who would notice? I notice! I see everything!

A hair, undone buttons, or a slightly tilted frame—I’m obsessed with the little details that most people never see unless you pointed it out to them.

I’m sure you have spent some time in Photoshop, and if not, you at least know its power when it comes to editing an image. When I’m in the world, I wanna edit everything! There is a smudge on that wall in a restaurant that I could take care of with a little clone stamp or that lampshade that’s a little crooked. How about the spot on your buddy’s shirt or the scratch on your car door? Content aware fill to the rescue!

I don’t feel alone though. My daughter is a graphic designer and a bit of a font snob. Open a menu or a brochure and listen to her grumble about the misspelled words, poor layout, or the still overused font Helvetica. It allways makes me smile when a fellow creative obsesses over the “little things”.

I embrace my obsessiveness as a superpower.

With my superpower, elements like symmetry, color harmony, and lighting are revealed to me. Scenes like a hallway, leading lines of a path through the trees, a staircase, repeating patterns, or a shaft of light all catch my eye. Did I mention repeating patterns? That’s like visual crack.

Embrace your obsessive nature

Devour all of those things in your world that you love and obsess over. What can set you apart from other photographers might be those obessions, like your images having less clutter or a better composition, shooting in unique lighting, or utilizing a non-standard angle in location most would walk by.

So if you’re a little obsessive about the things that drive your creativity, embrace that nudge and harness your superpower to see the world a little differently and create something amazing! Now, go now……create something now! Stop reading, don’t scroll anymore, don’t look at your phone, grab your camera and follow the tug!

November 15, 2018

| by Spicyjello

Print That Thing!

Posted in creativity, Printing

Feature image: Gallery wall in my studio

Do you print your images? And I don’t mean those tiny 4×6 or 8×10 photos that your printer kicks out on occasion if the printer head isn’t plugged from lack of use. I mean really print 30”, 40” and bigger. There are those of you that answered that questions with an enthusiastic “YES, of course, I do!” The rest of you—Shame! 😉

So I wanna ask you a favor—Not for me, for your future self. Think of your favorite image. You know which one it is. We all have a few but only pick one. Now find that gem and hold that thought until a little later.

Social media is not the ideal way to enjoy your art

It’s cool to share your passion and put your work out in the world via social media, but ask yourself, does that tiny screen really do your image justice? There is also the experience of having an image hanging on a wall somewhere that you see all the time. You get to take it in and enjoy that moment over and over. When we post our images in a social media gallery, ourselves and others only see them briefly as they are in a sea of other distractions. Plus, humans are tactical creatures. We love to see, touch, feel, and experience our world. A digital display on a tiny device is amazing for some things but terrible for others.

By its very nature, imagery is meant to be seen. Seems obvious, but most images created today never see the light of day other than a brief appearance on social media feeds. I’m also willing to bet that the majority of images are never seen once they hit the hard drive. Even in a world where we are overwhelmed by imagery, I’m sure there are some real beauties out there that are buried.

Imagine if all those fantastic paintings hanging in galleries all over the world only viewable on your phone. That would be so sad.

I get it, I really do. It’s not always convenient and there’s a cost involved. For me, not printing my work would be like listening to my music on an old transistor radio or watching a movie on an old TV rather than going to a theatre or a concert. Seeing your work printed and hanging on a wall will completely change how you perceive your work for the better.

There’s also the consideration of your clients. If you’re not selling wall portraits, I believe you’re doing yourself and your clients a huge disservice. Now I know there are many factors as to how you might be running your business and reasons for how you made the choices you did, but follow me on this a little further.

When you, the photographer, offer a wall portrait option to your clients you are helping them choose art for their home or business.

You’re also building and reinforcing the appreciation for professional imagery as art. This is huge in many ways. Just seeing those same images on a computer or phone screen is such a loss, and whether you are selling weddings, family images, or fine art, by printing and displaying them you’re encouraging your clients and those that see your images hanging to do more of the same.


The next steps

So if you’re not already printing you might be thinking, “Ok! I’m ready but I don’t know how to begin.” Let me show you the way.

The following steps are assuming that you’re shooting RAW and have access to a Lightroom and Photoshop equivalent.

1. Get your monitor calibrated

I personally use the X-Rite i1 Display Pro, but honestly, any screen calibrator will work great. I also recommend that you calibrate even if you don’t plan to print all the time. Keeping your screen color and brightness in check will assist you with your image expectations.

2. Finalize the image

Now, Get that image you found earlier and get it all tuned and tweaked to perfection. The methods for tuning are not critical at this point and there is a lot of software options. I still use Lightroom for older jobs previously edited in Lightroom but have moved to Capture One and Luminar for the RAW edits and Photoshop when I need to push the pixels even further.

Once you have your image tuned, move that baby into Photoshop or an equivalent for a final once-over for dust spots and any additional pixel tweaks that might be needed.

3. Size for output

Now here’s the point where you may need to see what your lab recommends. I personally size my images to exact print dimensions at 300dpi and save as a JPG at 100% quality for uploading.

Let’s talk labs. I use Millers Professional Imaging as well as their prosumer lab, Mpix. I love those guys and recommend anyone to give them a look. After nearly 20 years of working with them, I still couldn’t be happier.

To help get you going, Mpix is offering a 20% off, single use discount with the code MPIX2019. No excuses now!

Now, not all labs are created equal. As a professional photographer, I use a lab that I feel is equally motivated to produce a quality product as I am. There are several factors when picking a lab:

  • Quality of product
  • Range of products
  • Customer service
  • Price

…to name just a few. I believe that a lab that is willing to be a partner in the success and growth of my business out weights pricing and selection. Quality will follow a lab that cares.

4. Choose your print material

After choosing a lab, there are the often daunting choices of what to print on. Metal, fine art paper, acrylic, metallic paper, glossy paper, mounting options, etc— The list is never-ending. Don’t be confused or discouraged with all the options. If you are completely unsure, go for a metal print if you want something a little more wall-worthy and if you just wanna dip your toe in the printmaking puddle, try a luster or semi-gloss print mounted on single weight mat board. Either way, you can’t go wrong.

The media we print on is a personal and artistic preference, as is what we choose to photograph.

So take your time and don’t be in too much of a hurry to print on the latest fad. Pick a finish that fits your style and the needs of your clients. Simple is often times the best.

Happy printing!

All Images Copyright © Troy Miller. All rights reserved.